This post may contain affiliate links. Please read my disclosure policy.
Making Homemade Pumpkin Puree is easier than you think. But you might be wondering, “why would I do that”?
Well, most importantly, fresh roasted pumpkin will give your favorite pumpkin recipes the ultimate flavor and texture!
From creamy pumpkin soups and sauces to moist bread and muffins and of course pumpkin pie, you won’t regret it, and will probably never buy canned again.
It’s also much healthier when made from scratch. There’s no preservatives or questions of what’s in it.
Stock your freezer and you’ll be set for the season, or that Pinterest inspiration.
Homemade is best
I really enjoy making staple items from scratch. It didn’t used to be that way, I didn’t know any different. But over the last 10 years, I’ve experimented with loads of recipes where I’ve taken a homemade approach.
And what I’ve learned, is that besides being so much better for you (which was the reason I started), is that my recipes just tasted a whole lot better. And isn’t that the joy in eating?
I love gathering around the table with my family and friends and providing them with something super delicious and mouthwatering. Food brings people together.

Store-bought vs homemade
Some canned pumpkin puree is actually made from one or more types of winter squash. This is an interesting article on what you might find in a canned variety.
I have been making pumpkin puree from scratch for a long time. Once you do it, it’s so hard to go back to the canned stuff!
I always bought ‘100% pure pumpkin’ when I bought it canned, but this? Oh my! It is a bajillion times better.
In our recipe today, we are only using pumpkins. Nothing else. And that’s how I always make it.
Ingredients
- pie pumpkins– These are the smaller pumpkins, often referred to as ‘sugar pumpkins’. You can find them in the produce section of your grocery store when they are in season. Or, get them from your local farmer’s market.
Instructions
Before you begin, preheat the oven to 350°
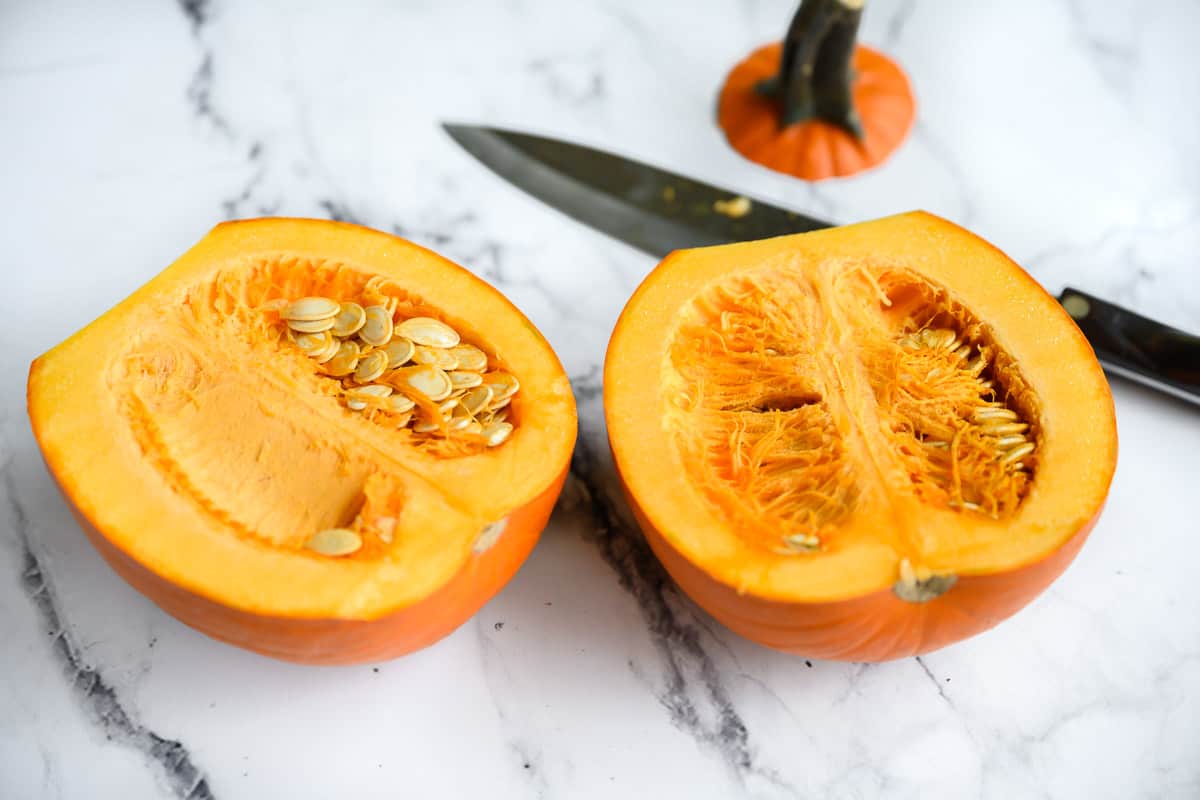
Step One: Cut the pumpkin
- Using a sharp Chef’s knife, cut the stem off the pumpkin
- Cut the pumpkin in half lengthwise down the center.
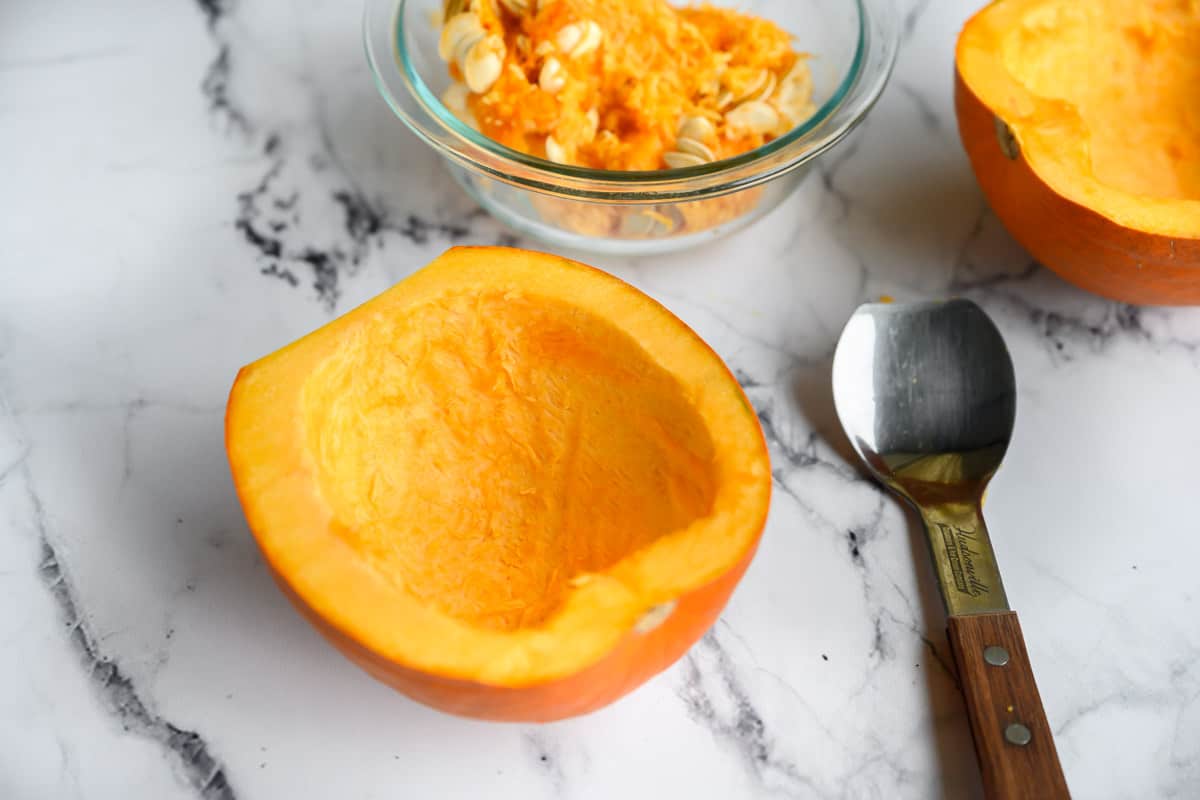
- Remove the seeds and pulp (you can roast the seeds later)
Tip for removing the seeds:
Use an ice cream scoop.
This one, in particular, has a flat edge that works wonders. It was completely accidental how I figured this out.
Now that I’ve been using it, I would buy one just for this purpose. It is so much easier than a typical spoon.
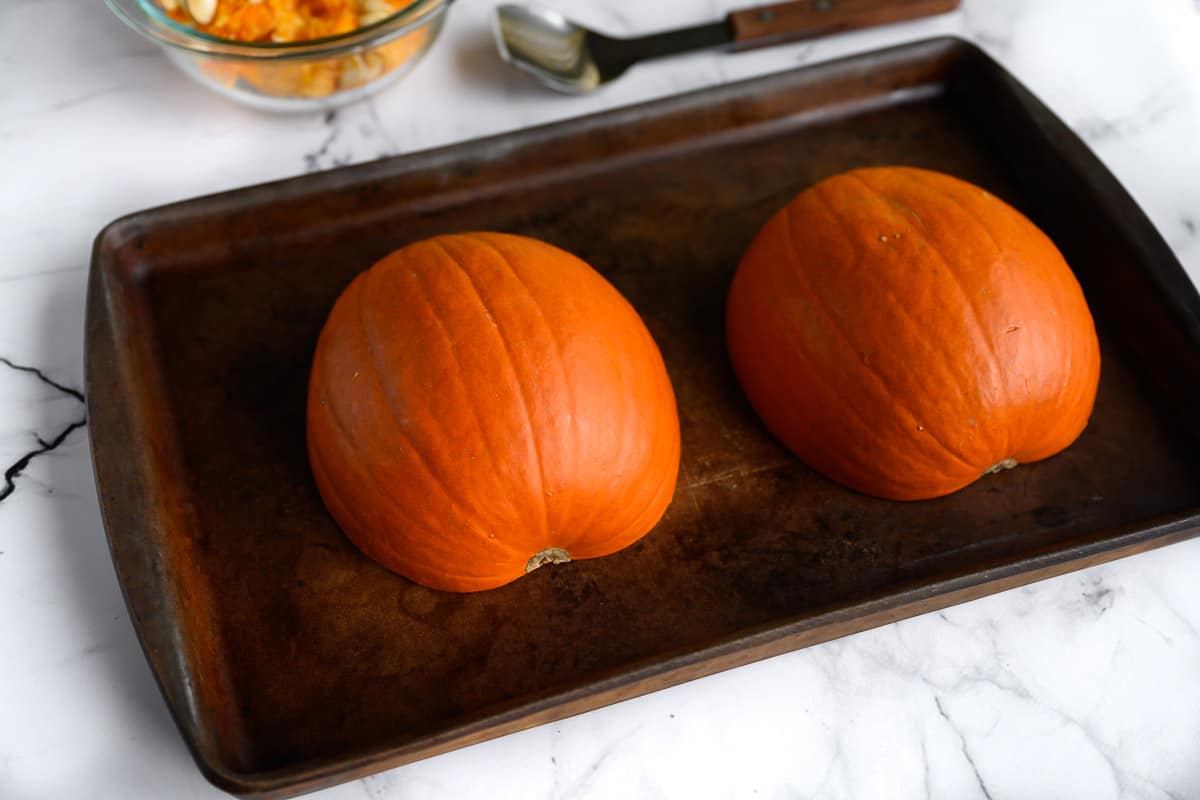
Step Two: Bake the Pumpkin
- Bake the pumpkin cut side down for an hour (you can line your rimmed baking sheet with foil for easy cleanup if you want to).
- Remove from the oven, and let cool enough for handling
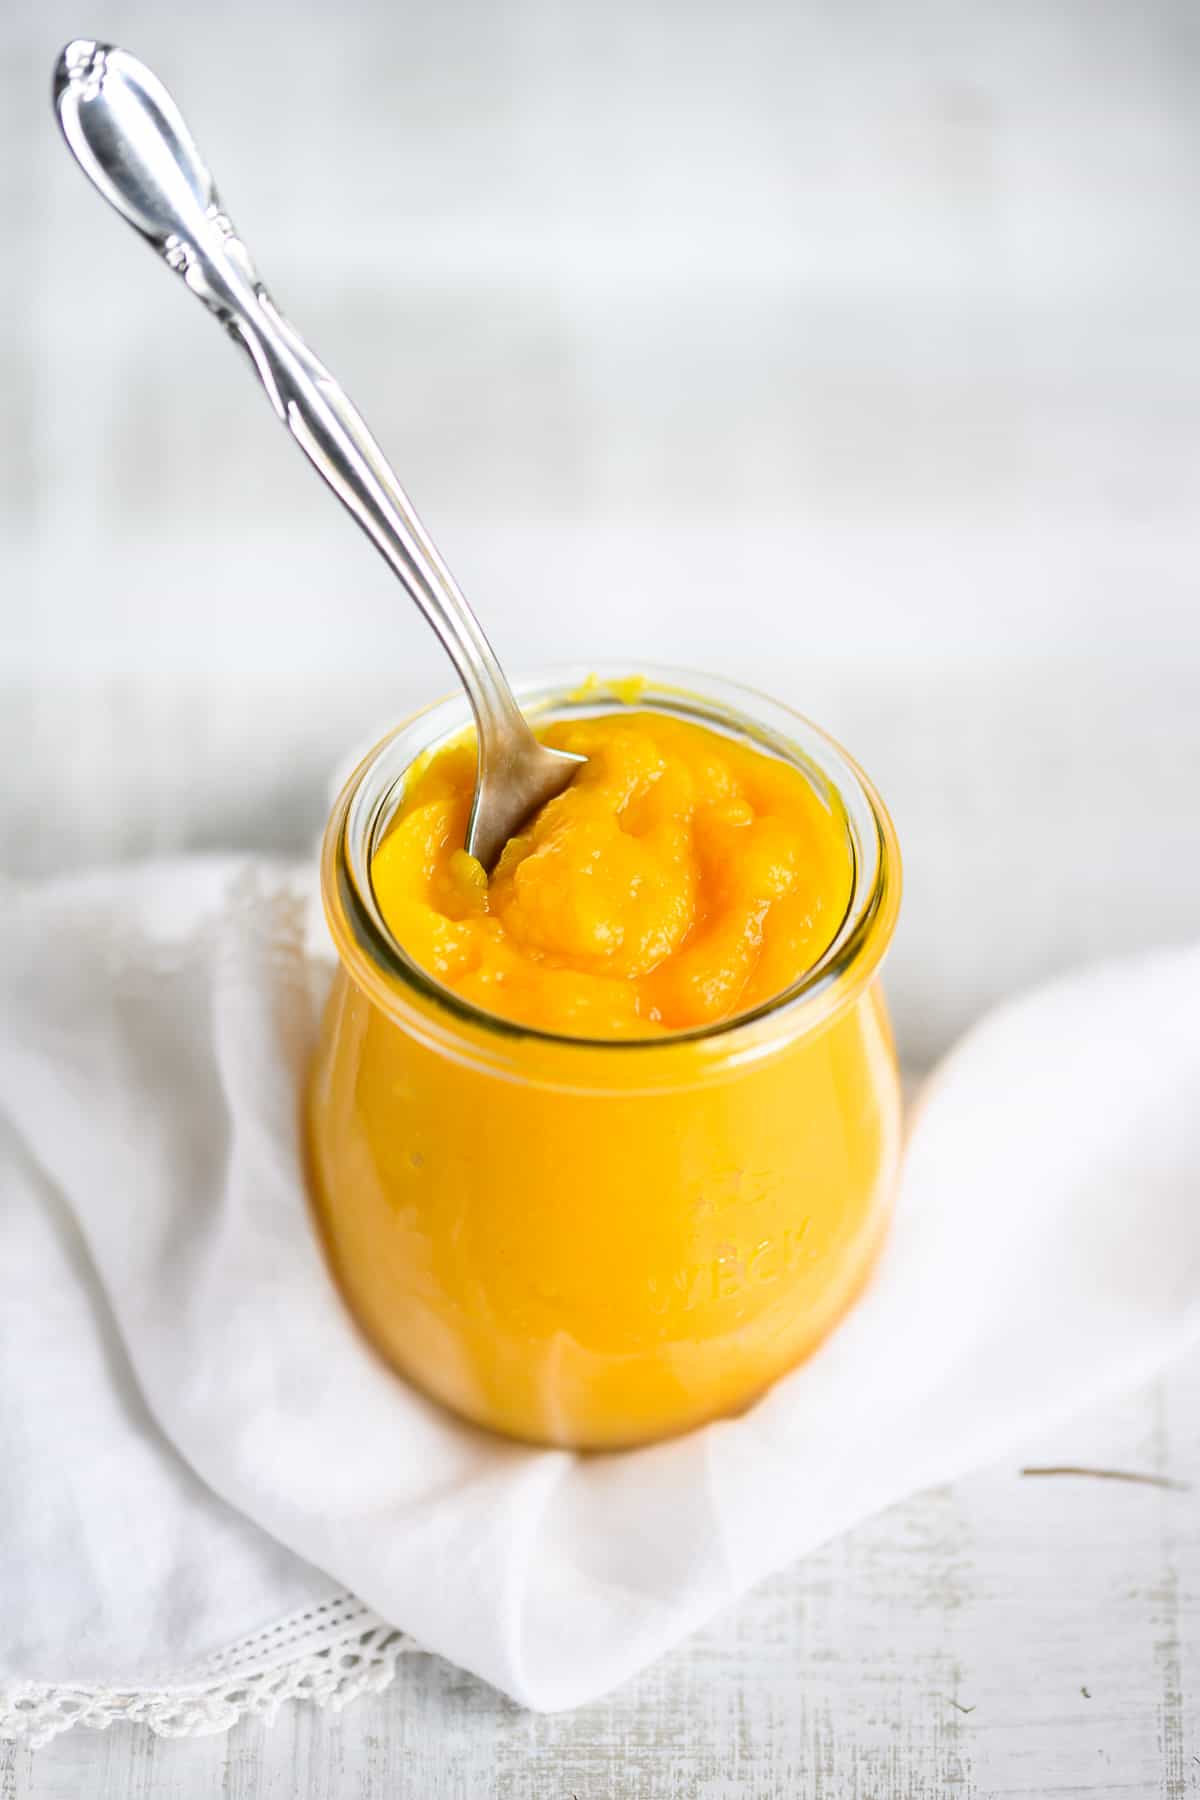
Step Three: Puree´
- Once the pumpkin is cool enough to handle, use a spoon to scoop out the flesh into a blender or food processor.
- Blend on high until you have a smooth consistency.
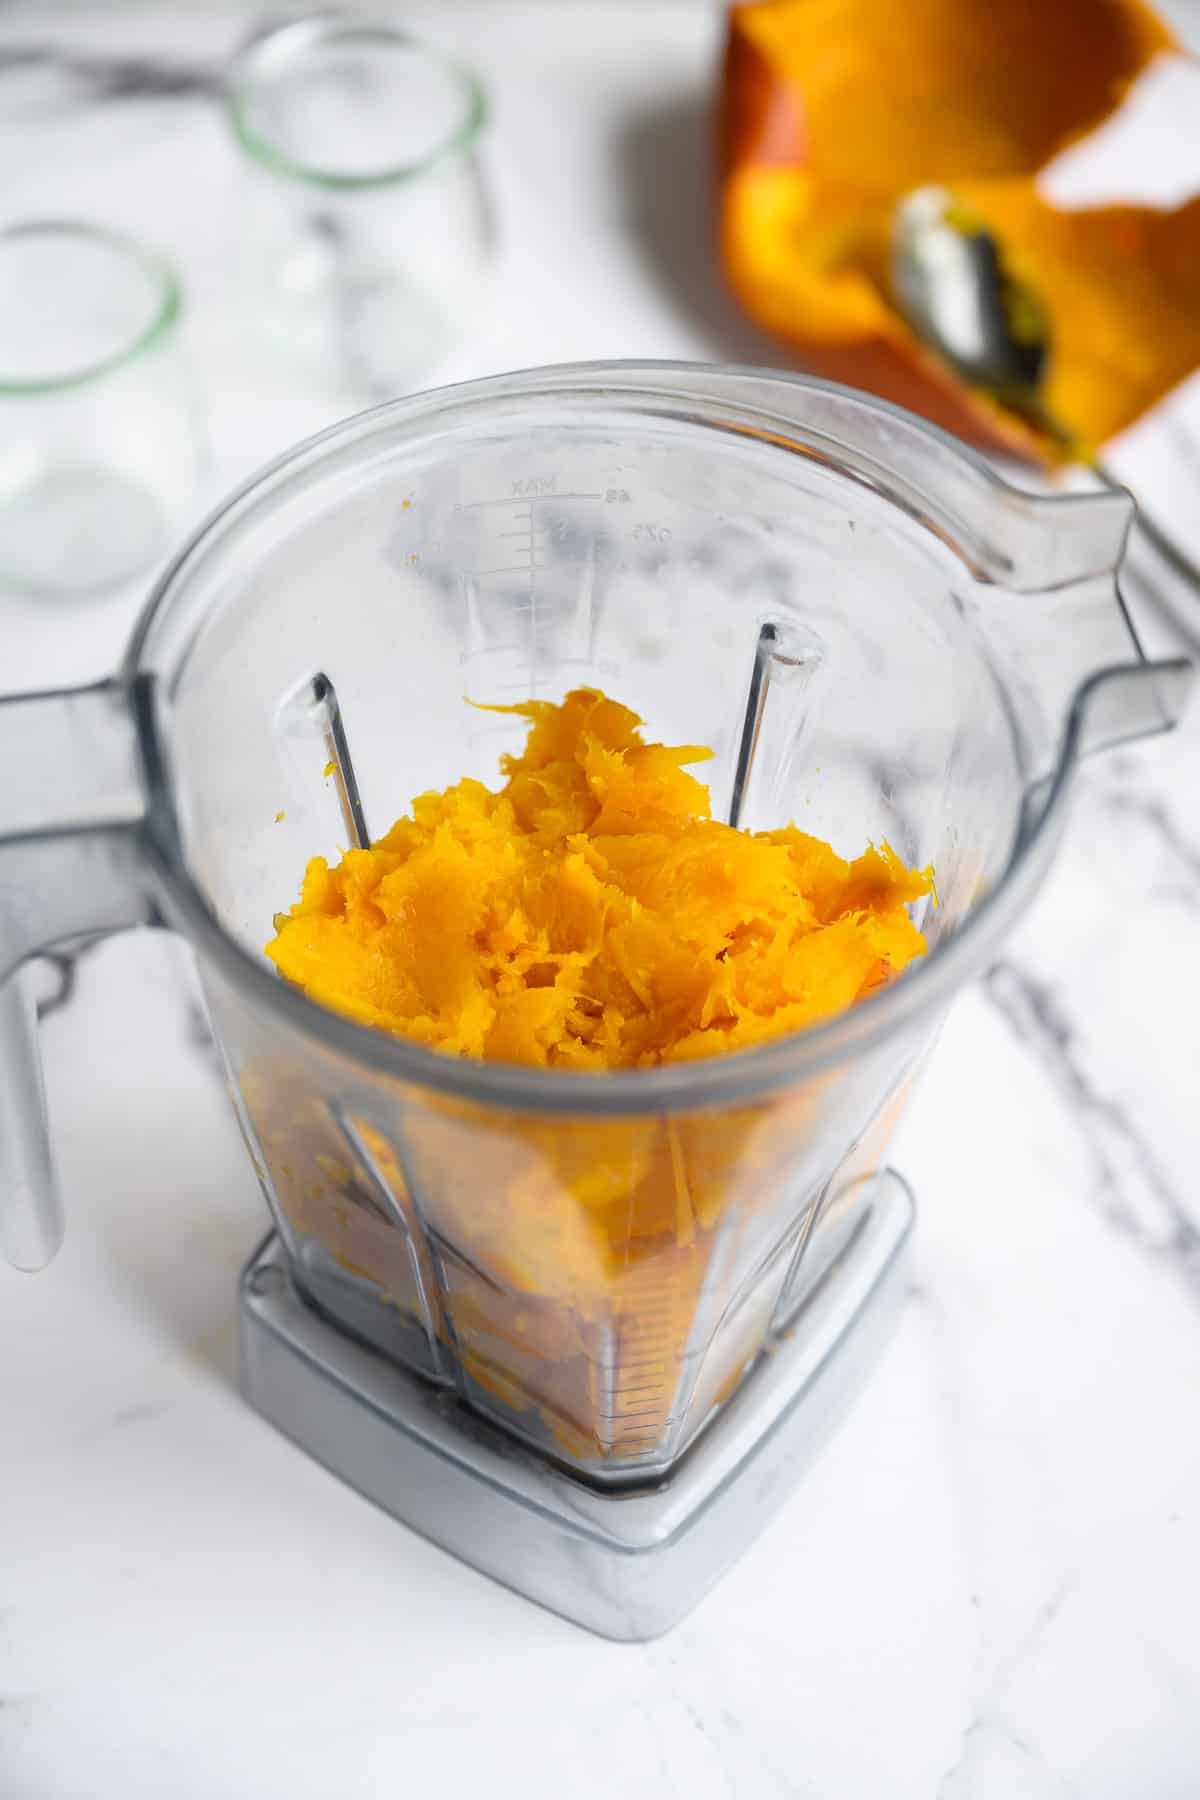
I use a Vitamix for this and it is extremely smooth!
Notes
- If you’re only working with one pumpkin, and a blender, you may need to use the tamper to push the pumpkin down into the blade until it gets going. Working with two or more, you won’t have an issue.
- Freezes GREAT! Make a big batch using several pumpkins and you’ll be ready for all the fall recipes.
Best Pumpkins for puree
The best pumpkins to use are pie pumpkins, also known as sugar pumpkins. They are smaller and rounder than the kind you would carve. They are typically labeled at your grocery store or farm market.
Pie pumpkins are full of flesh that makes it a good choice for cooking. The pulp has a better texture (less stringy) and is sweeter.
Freezing and Storing
Store fresh pumpkin in the refrigerator for 3-5 days.
To freeze it, I recommend putting it in ziplock storage bags and freezing it flat. By doing so, you will use your space more effectively, and it thaws out quickly.
You can also freeze it in glass or plastic mason jars (or any container). It stays good in your freezer for one year. Make sure you leave headroom in your jar.
Thaw before using.
After freezing and thawing, it may be watery. If this happens, place cheesecloth over a bowl, place the pumpkin in it, and let the excess water strain out.
You should only need thirty minutes or so to do this. Check out the video in the recipe card for a visual.
Ways to use
Whether you have a full portion, or you’re just looking for ways to use leftovers, here are some ways:
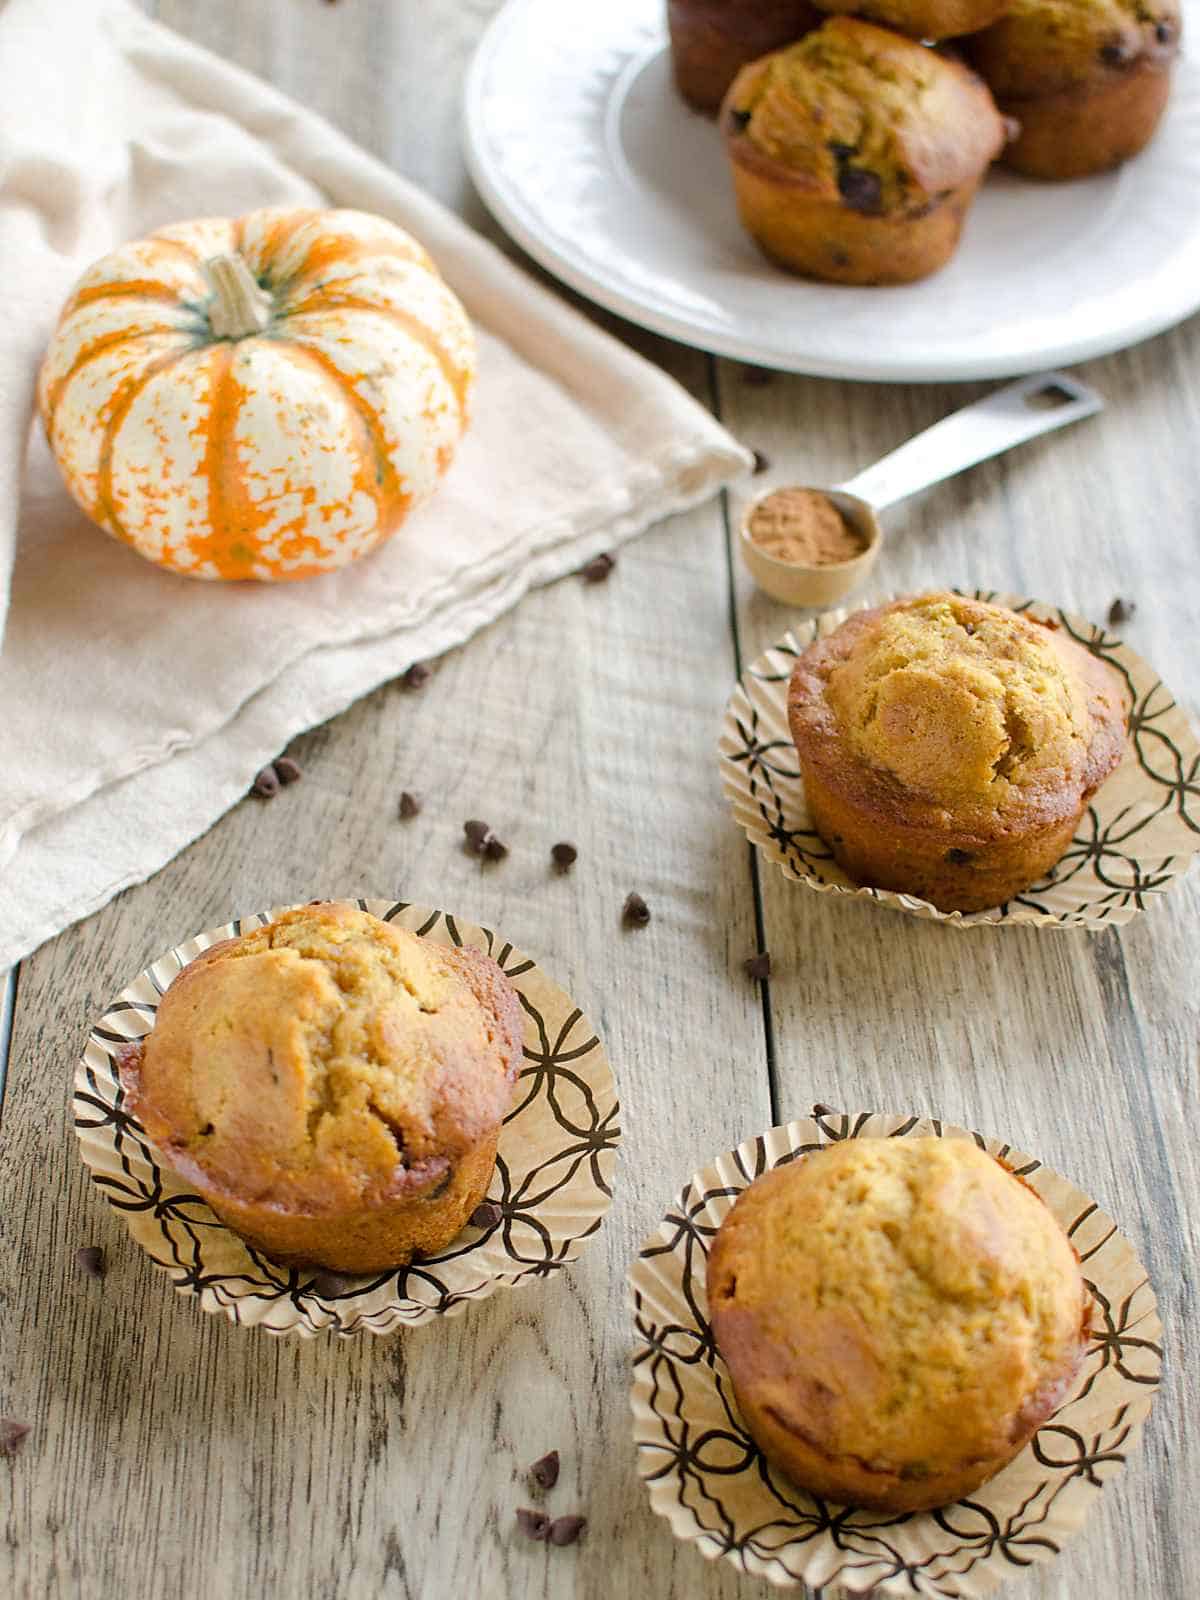
- Pumpkin Chocolate Chip Muffins
- Pumpkin Whipped Cream
- Pumpkin Overnight Oats
- Pumpkin Soup
- Pumpkin Breakfast Cookies
- Pumpkin Oatmeal
- Stir some into yogurt with pumpkin pie spices
- Blend with some cream cheese and pumpkin pie spices for a quick dip
- Make a Pumpkin smoothie with vanilla yogurt, milk, and cinnamon
- Pumpkin pancakes
- Pumpkin French Toast Casserole
- Pumpkin Butter
- Pumpkin Spice Latte’
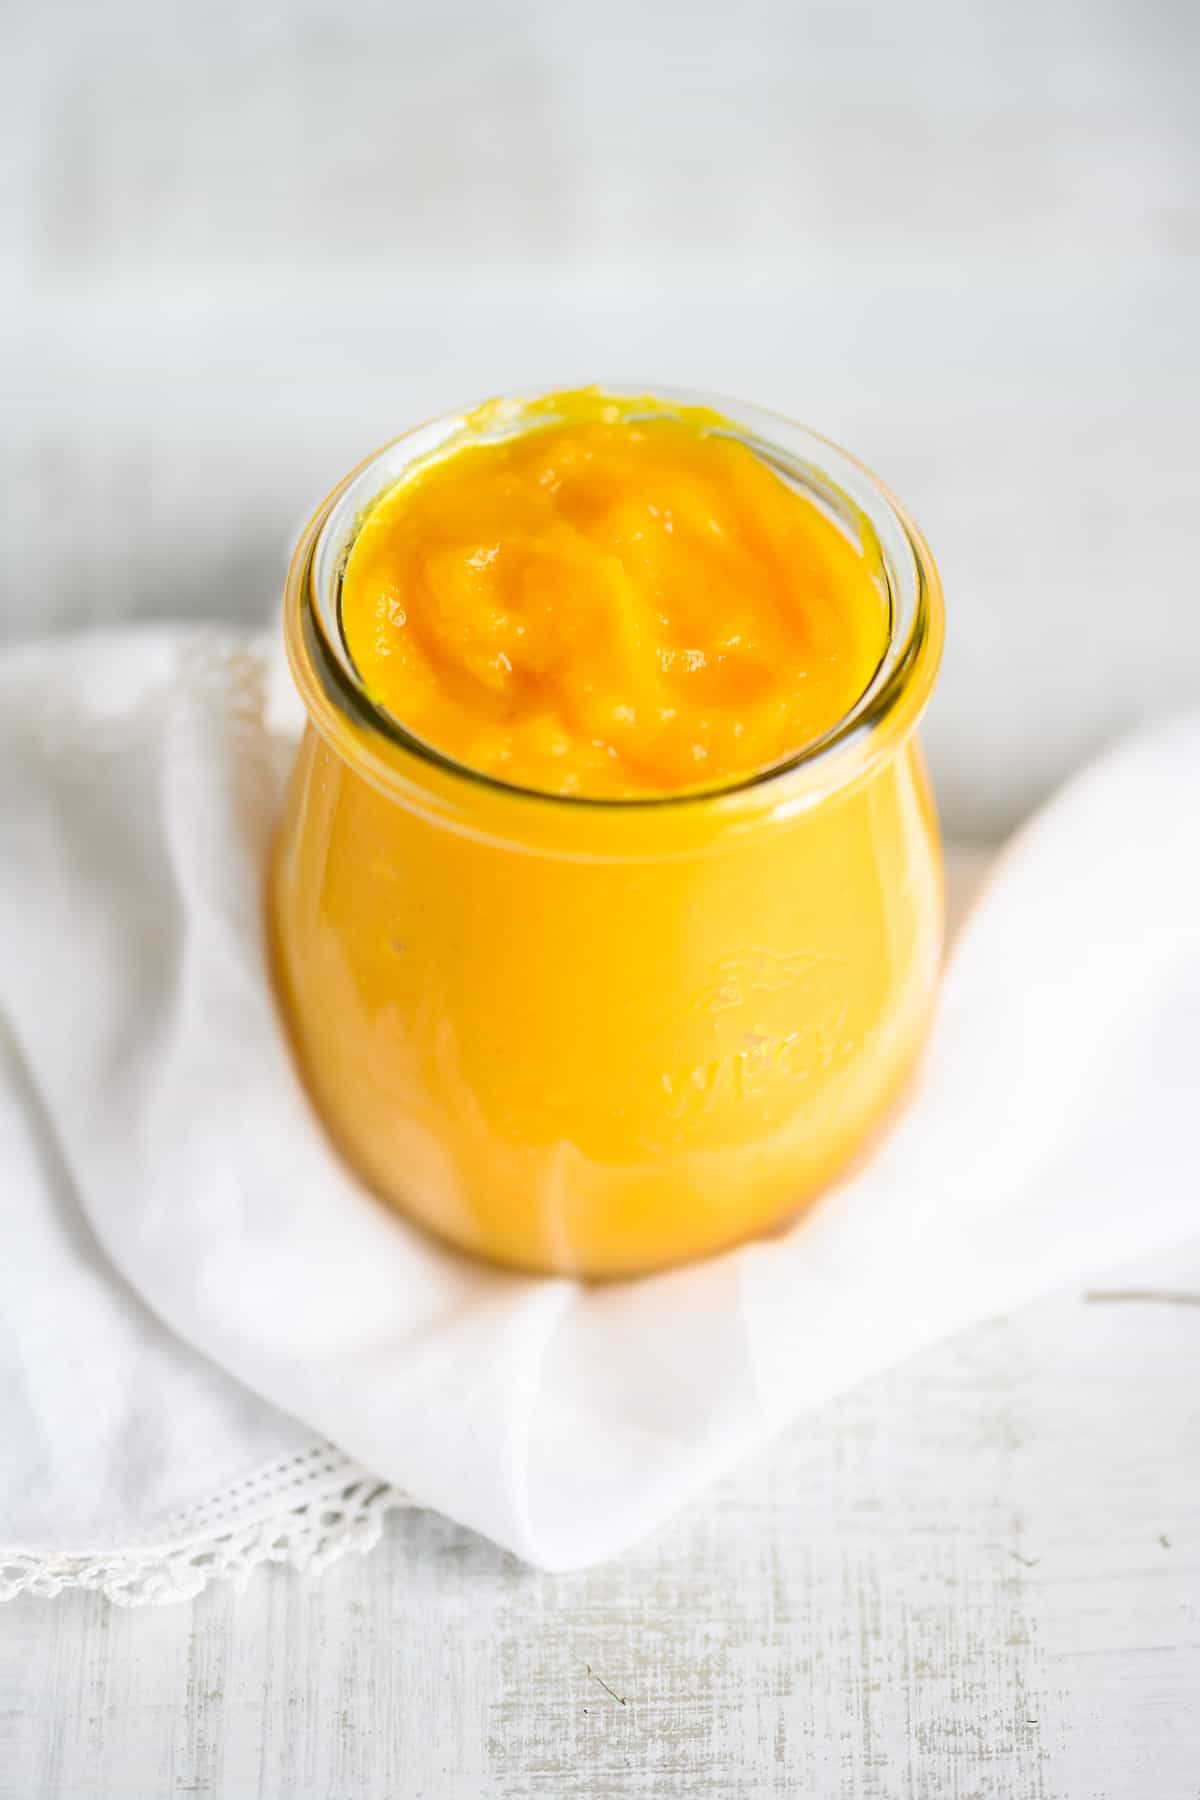
Homemade Pumpkin Puree
Equipment
- Rimmed baking sheet
- Blender or food processor
- Ice cream scoop or large spoon
Ingredients
- 1 pie pumpkin also known as sugar pumpkin
Instructions
- Remove the stem and cut pumpkin in half length wise.
- Scoop out seeds and pulp.
- Place pumpkin halves flesh side down on a rimmed baking sheet
- Bake in a 350 degree oven for 45-60 minutes. It should be fork tender.
- Remove from the oven and cool until you can handle it.
- Scoop out the flesh and place in a Vitamix, blender, or food processor, and puree.
- Use immediately, store in the fridge for a week, or in your freezer for one year.


Wow, that looks easy! Thanks!
You’ll never go back! You could freeze it in a mason jar, but I typically freeze it in a quart size freezer bag. Then you can lay it flat in your freezer, and it takes much less time to thaw. Make sure you measure it and write that on your bag too. Most recipe’s use ‘1 can of pumpkin’, so I like to freeze mine in 2 cup portions. Great question, thanks.
Next year I am going to try this! It looks so good and fresh and healthy! When you freeze it do you do it in your mason jars? How long does it last? Pinning so I can use your directions, I had no idea how to do this! Thanks.
Thanks Adre! Fall photography is so fun to do. Yes, the pumpkins are so easy and so fresh! If you try it, let me know. 🙂
I had no idea it could be done this easily! Thanks for sharing Chellie. And your pictures look great!!
Adre
My first thought when I saw the picture was – “That is what pumpkin is supposed to look like!” Thanks for linking up on the Creative K Kids Tasty Tuesdays Linky Party. I hope you will join us again next week.