This post may contain affiliate links. Please read my disclosure policy.
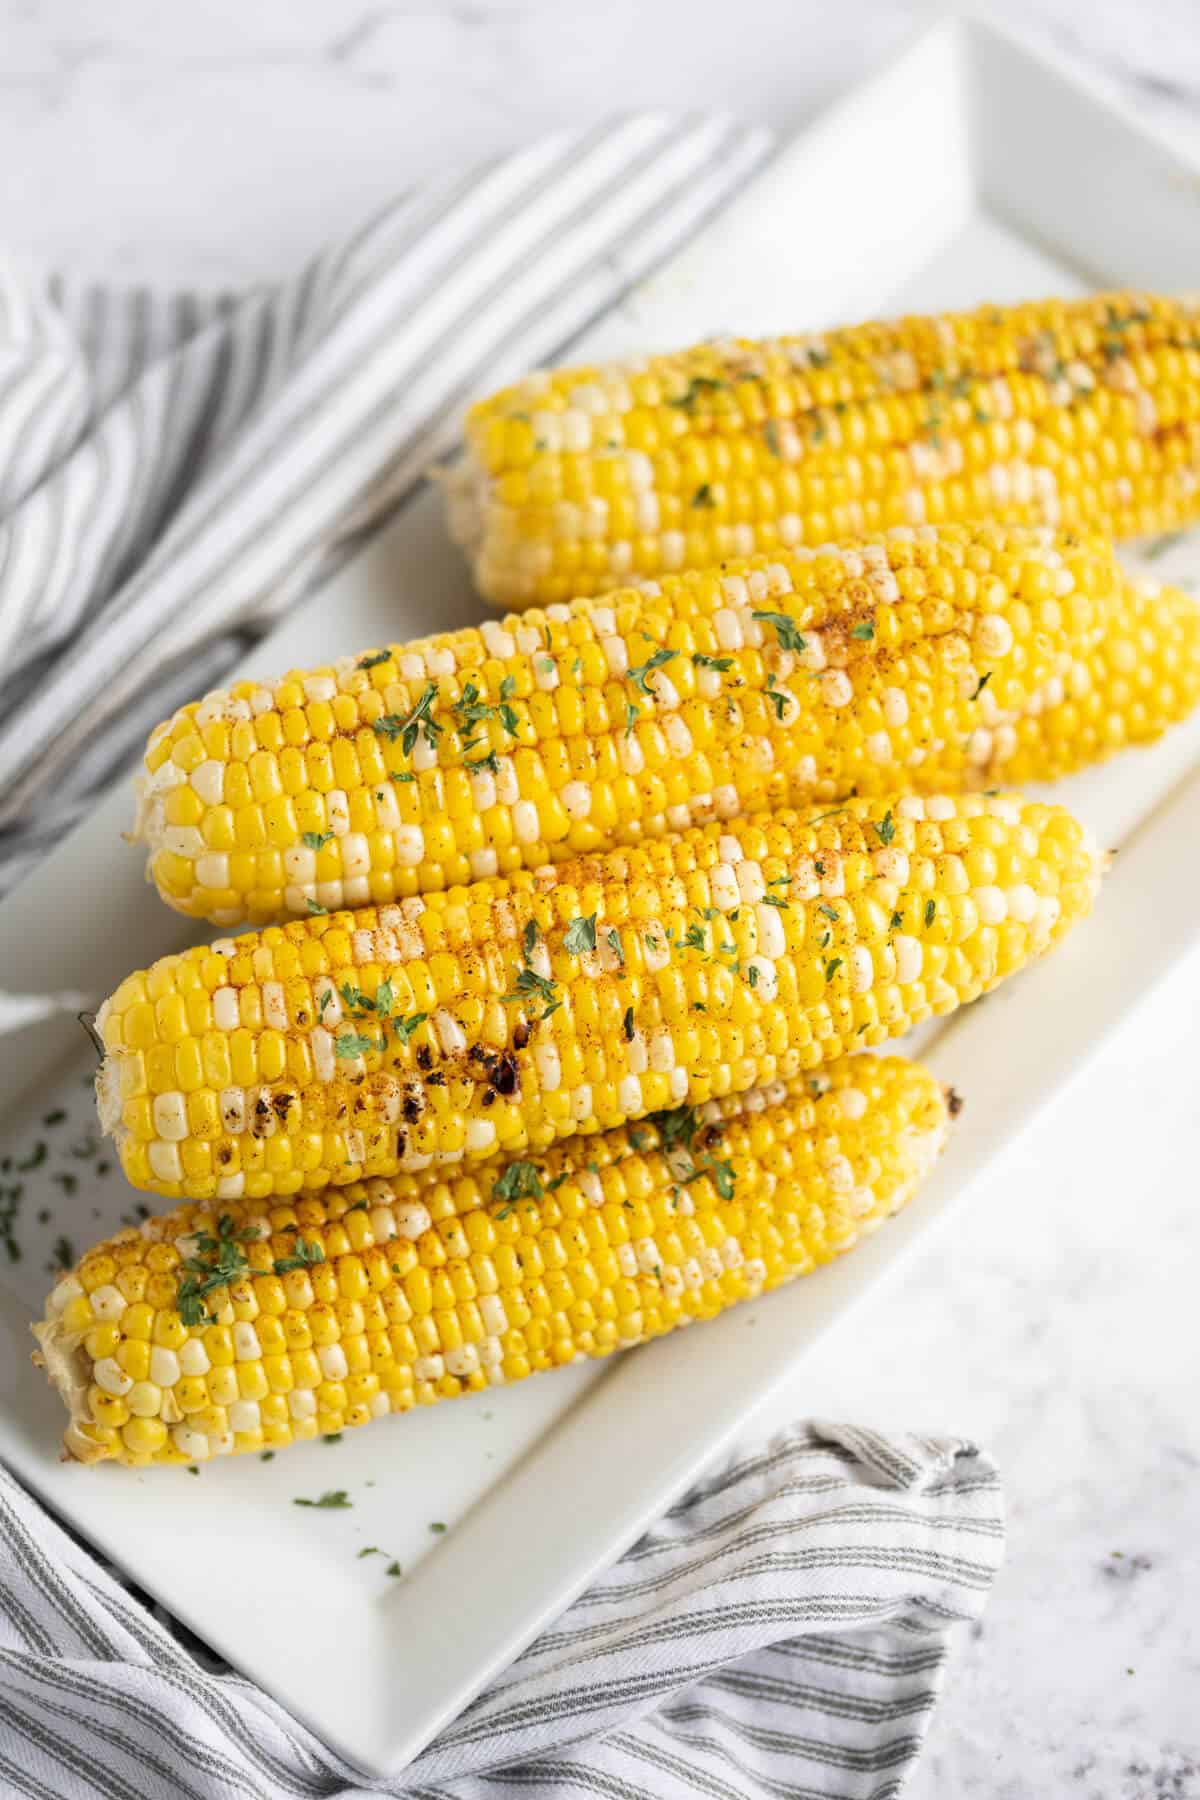
Quick and absolutely delicious, you are going to love this Grilled Corn on the Cob! No husk and no foil make it super simple. Made with olive oil and seasoned salt, the smokey flavor of the grill gives this corn a truly authentic grilling taste.
If you are looking for a perfect grilling combination, try my recipe for Grilled Teriyaki Chicken and add a side of Broccoli Blueberry Salad. In the mood for a burger, look over this guide to the Perfect Grilled Burgers and add a green side dish like Garlic Roasted Green Beans.
Get out there in the fresh air and grill while sipping on one of my Easy Mocktail Recipes and don’t forget to put some good music on the radio. While you are at it, you may even want to invite the neighbors!
The warming of the weather in spring calls me outside to the grill! I love the entire experience, whether it is me wielding the spatula or my husband- It makes cooking a meal an evening experience.
WHY YOU’LL LOVE THIS RECIPE
- Great for Grilling– Grilled Corn on the cob is a perfect side dish for all your grilling adventures!
- Summer Fresh– Corn is a warm-weather crop. It is so crisp and delicious.
- Quick and Easy– This recipe simplifies the process and turns out a lovely grilled ear of corn!
Key Ingredients
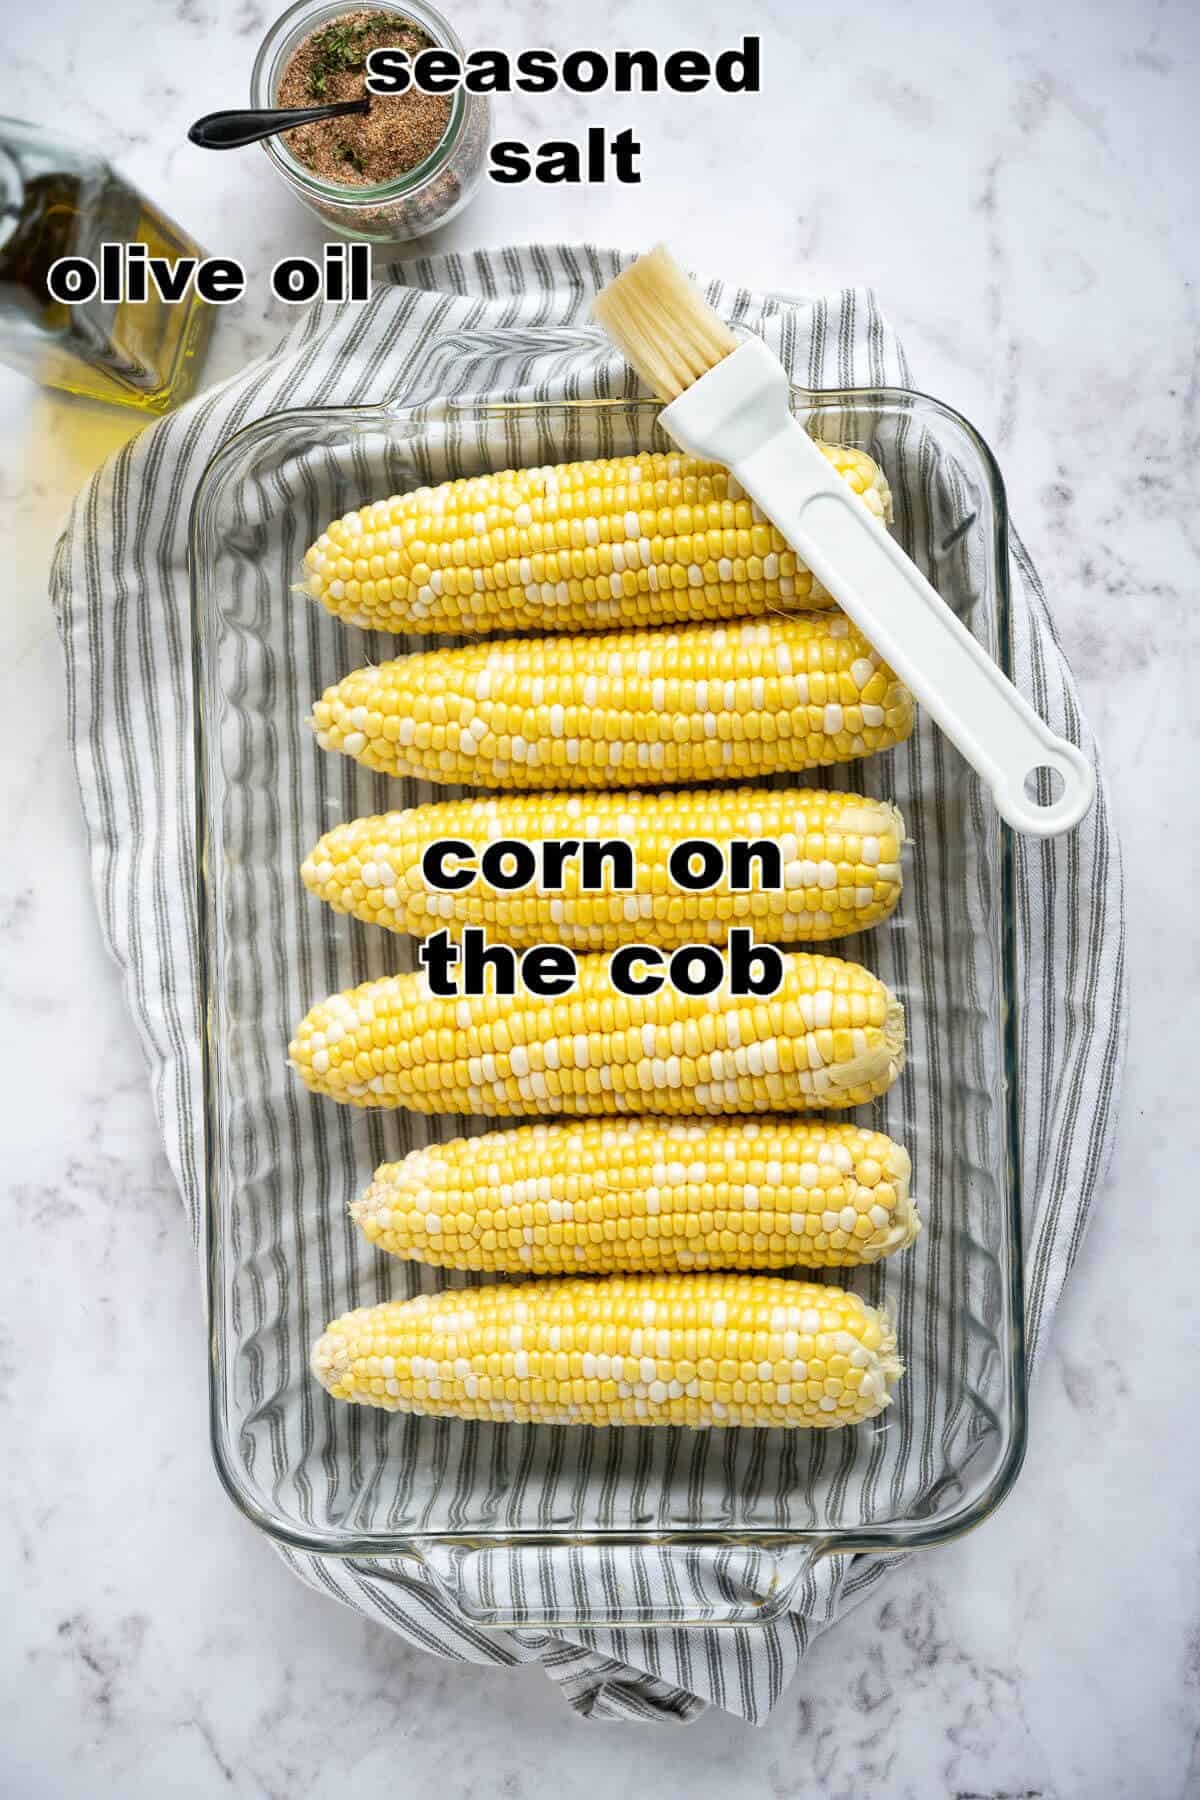
- Corn on the Cob- choose ears that are just right, with husks in good condition and plump kernels.
- Olive Oil- Olive oil gives the corn the color and flavor you cannot get with other oils. Plus, then the corn will get those beautiful grill marks and not stick!
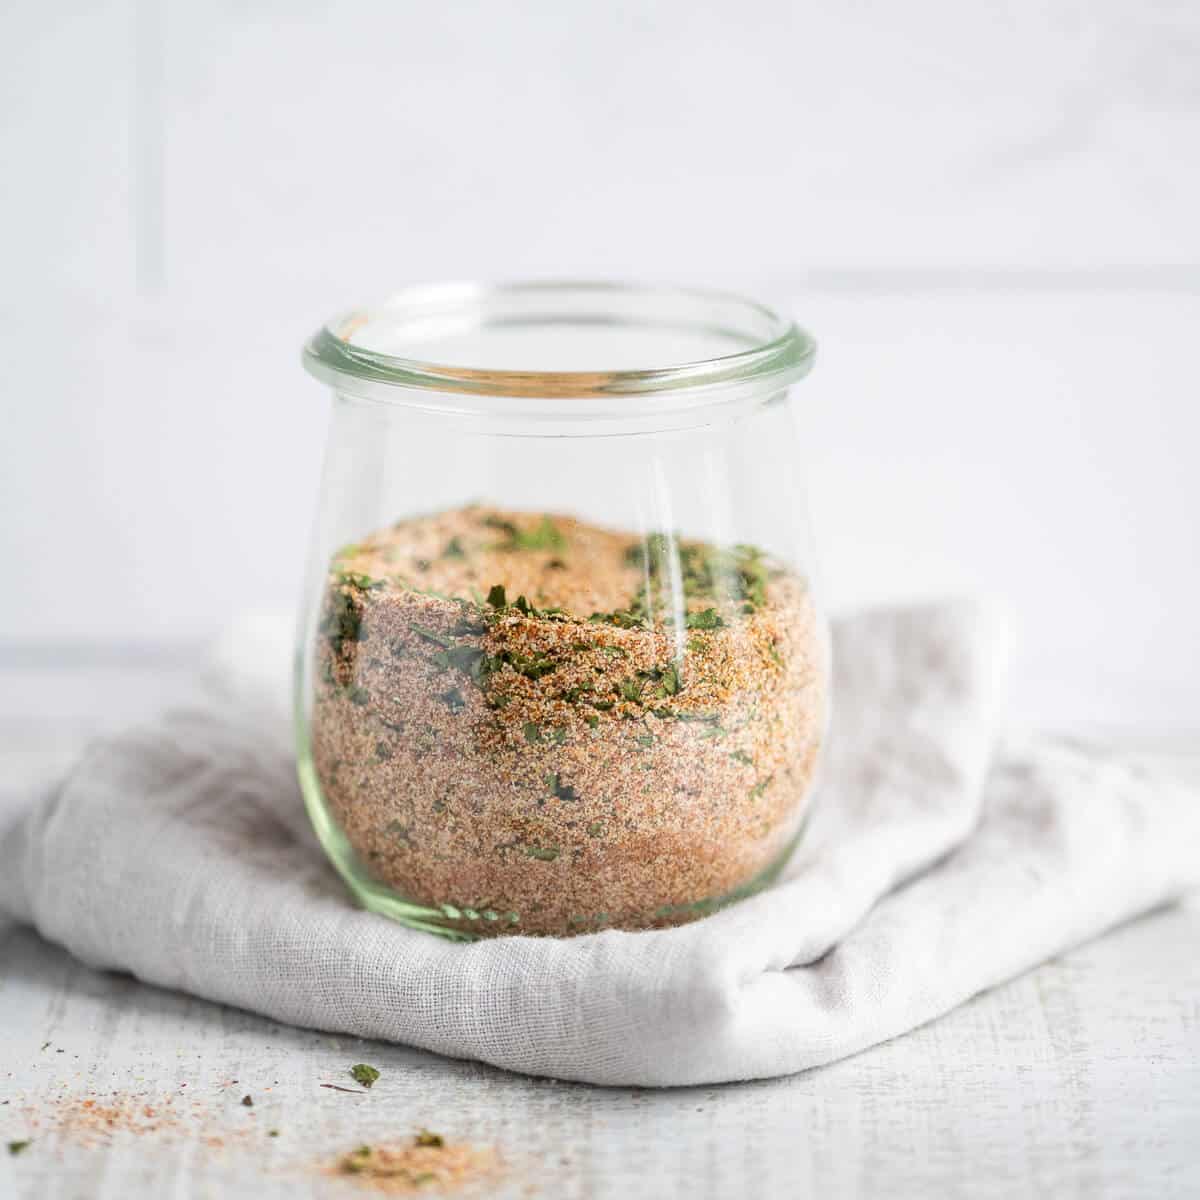
- Seasoned Salt- My homemade seasoned salt is the perfect mixture to allow the maximum flavor of the corn to shine through while enhancing the flavor profile (and it only takes 5 minutes to make). If you would rather use store bought, you can.
How to Make Grilled Corn on the Cob without a Husk
This is an overview of the instructions, be sure to see the recipe card for all the details.
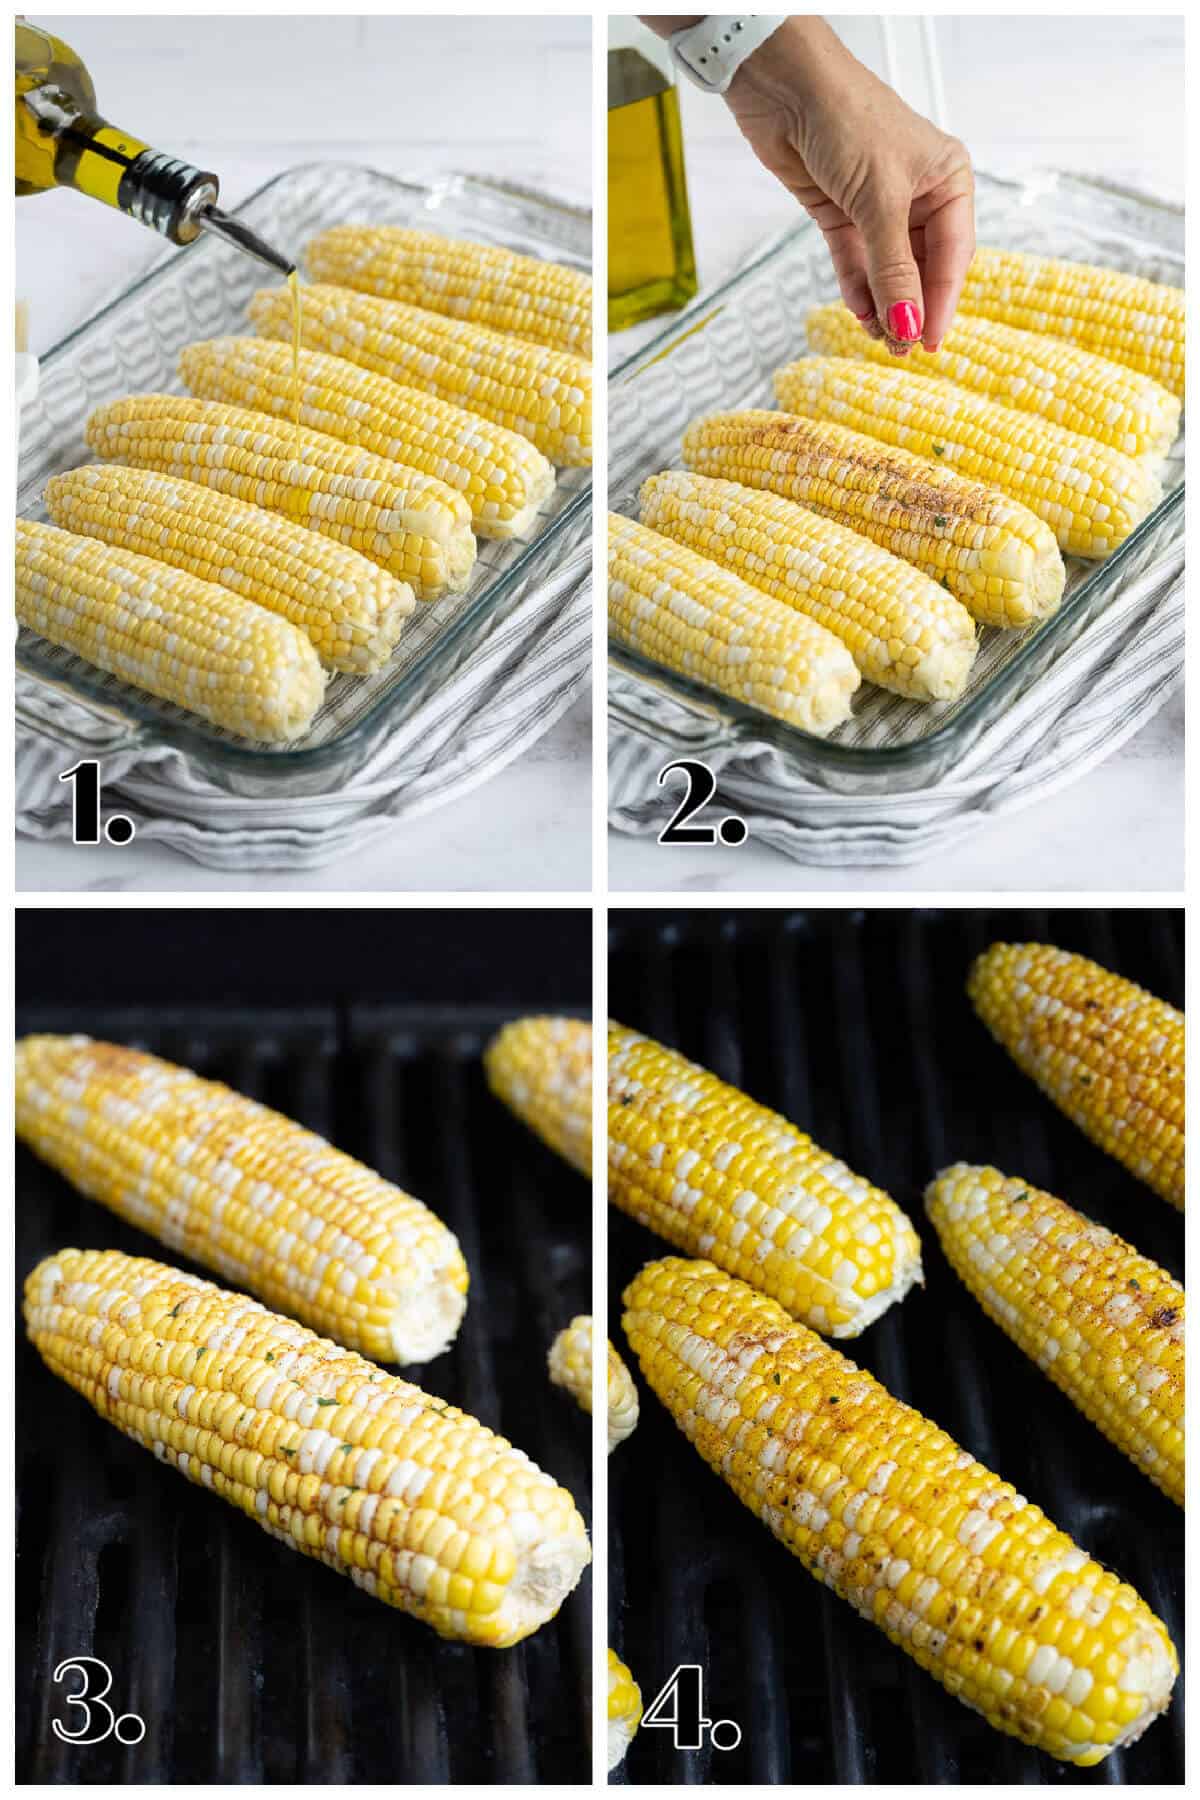
Before you start, preheat the grill to 350°
- Brush the ears of corn with olive oil.
- Season the corn cobs with seasoned salt. Be sure to cover all of the sides.
- Grill– using tongs, place the ears of corn on the grill, then close the grill lid.
- Turn the corn 1/4 turn after 3 minutes. Continue until it is browned on all sides.
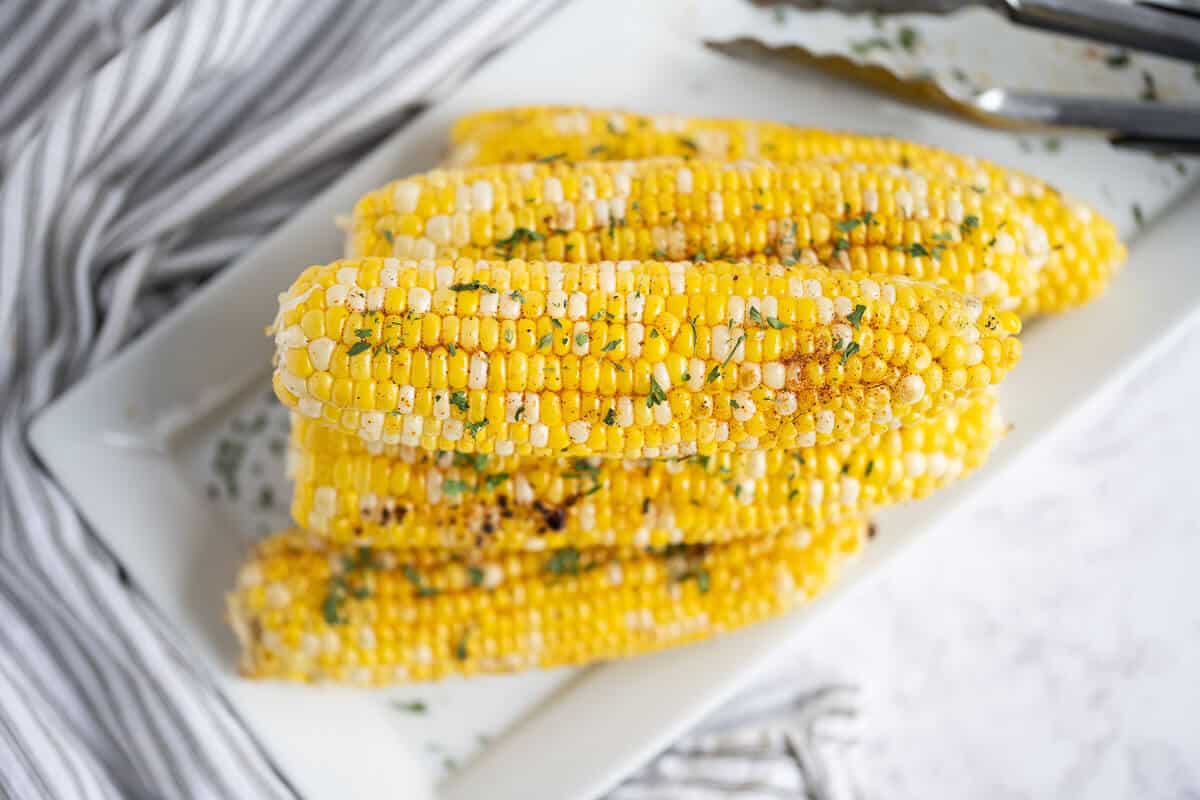
The color will turn bright yellow as it cooks. Don’t worry if a few kernels get a little charred, that makes it extra delicious.
Carefully remove the ears to a platter and serve immediately! YUM!
Expert Tips
- Brush clean and oil the surface of the grill racks before preheating.
- Preheating the grill is important so you have even cooking the whole time, plus, it will help you get the best grill marks!
- To shuck the corn easily: microwave the whole ear of corn with husk and silks for 2 minutes, and then slink the corn right out of the husk leaving almost no silks behind.
Frequently Asked Questions
Simply look for the ears with tight green husks, avoid dry brown husks, and feel to see if the kernels are plump all over.
Sure you can. This will result in a juicy half-steamed corn cob. Just pull back the husks, remove the silks, season the corn, then pull the husk back around the ear.
Want to change it up? Try adding a splash of lime juice when it is finished on the grill. or maybe add some parmesan cheese or chili powder. The choice is yours- go crazy!
Storing and Freezing
Keep leftover ears of corn in the refrigerator for 3-5 days. Reheat by tossing back on the grill for a few minutes to warm it, or, warm in the microwave.
If you made too many ears for a meal, you can use the corn again in many other ways:
- Try cutting it off and freezing the kernels for a great start to a delicious soup, or to use as a future side dish.
- Place the kernels in an air-tight container and put them on tomorrow’s lunchtime salad.
After grilling, freezing the cobs is not recommended, it may dry them out or make them turn out mushy the second time. – Use it all up the first time for the best results.
More of our favorite
Grilling Recipes
Please share
Your shares are how this site grows, and I appreciate each one. Do you know someone who would enjoy this recipe?
I’d love it if you shared it on your favorite Pinterest board or Facebook! AND…if you like this recipe, please do me a favor and give it a ⭐️ ⭐️ ⭐️ ⭐️ ⭐️ rating! TIA 🥰
You can also follow along on YouTube and Instagram!
Grilled Corn on the Cob
Equipment
- Grill
- tongs
- silicone brush, or pastry brush
Ingredients
- 6 ears Corn on the cob husks removed
- 2 tablespoons Olive oil
- seasoned salt to taste
Instructions
- Lay the ears of corn in a 9 x 13 casserole dish and brush each ear with olive oil.
- Sprinkle seasoned salt on all sides of the corn.
- Heat the grill to 350-400 degrees. Using tongs, carefully place each ear of corn on the grill grates and close the cover.
- Cook the corn for 3 minutes, turn a quarter turn, then cook another 3 minutes. Do this two more times until all sides have been cooked.
- Remove from the grill and serve immediately.
Notes
- Preheating the grill is important so you have even cooking the whole time, plus, it will help you get the best grill marks!
- To shuck the corn easily: microwave the whole ear of corn with husk and silks for 2 minutes, and then slink the corn right out of the husk leaving almost no silks behind
Nutrition
HUNGRY FOR MORE? Subscribe to my newsletter to have recipes delivered to your inbox and to stay up to date on the latest!

