This post may contain affiliate links. Please read my disclosure policy.


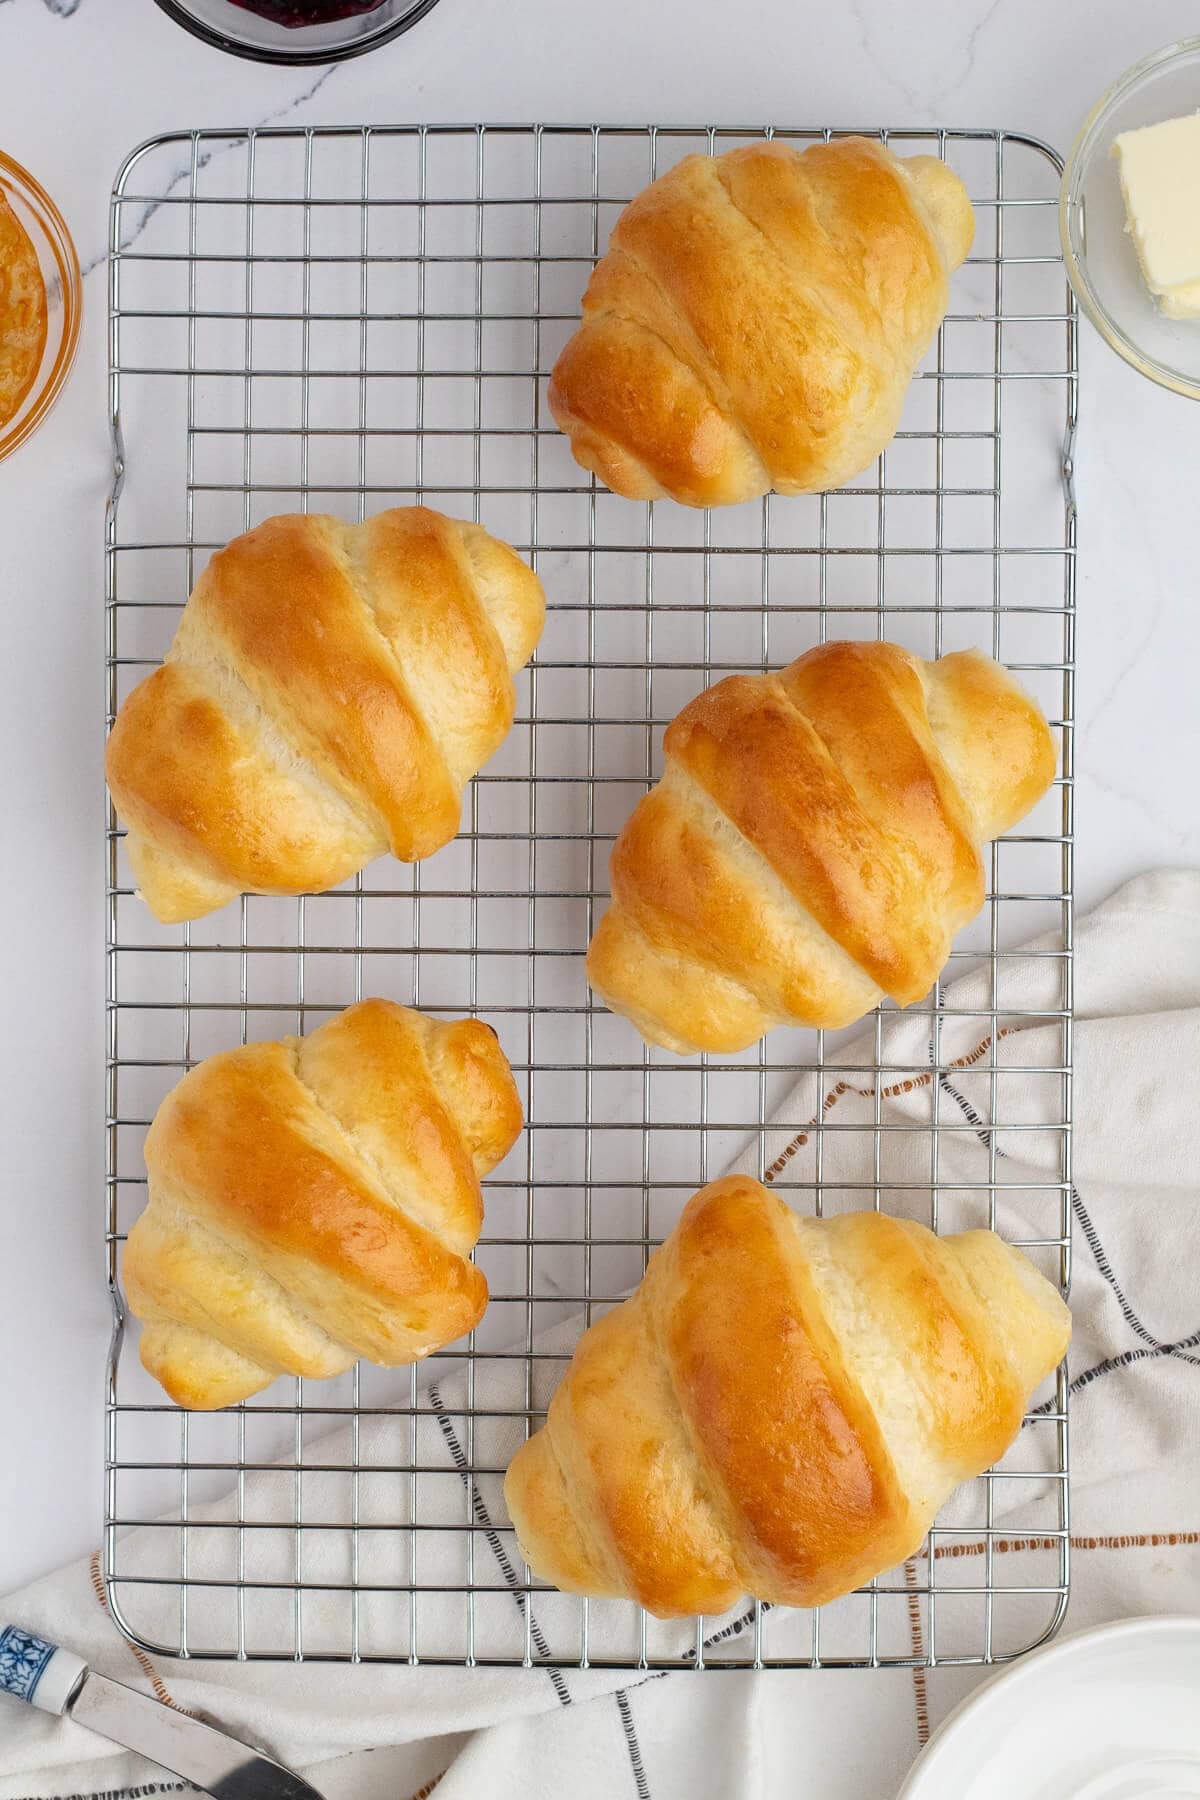
These homemade Crescent Rolls are everything a store-bought tube can’t deliver. Rich, with real butter, perfectly soft and flaky, and made for gathering. They take about 2 hours total to make and worth every second of your time!
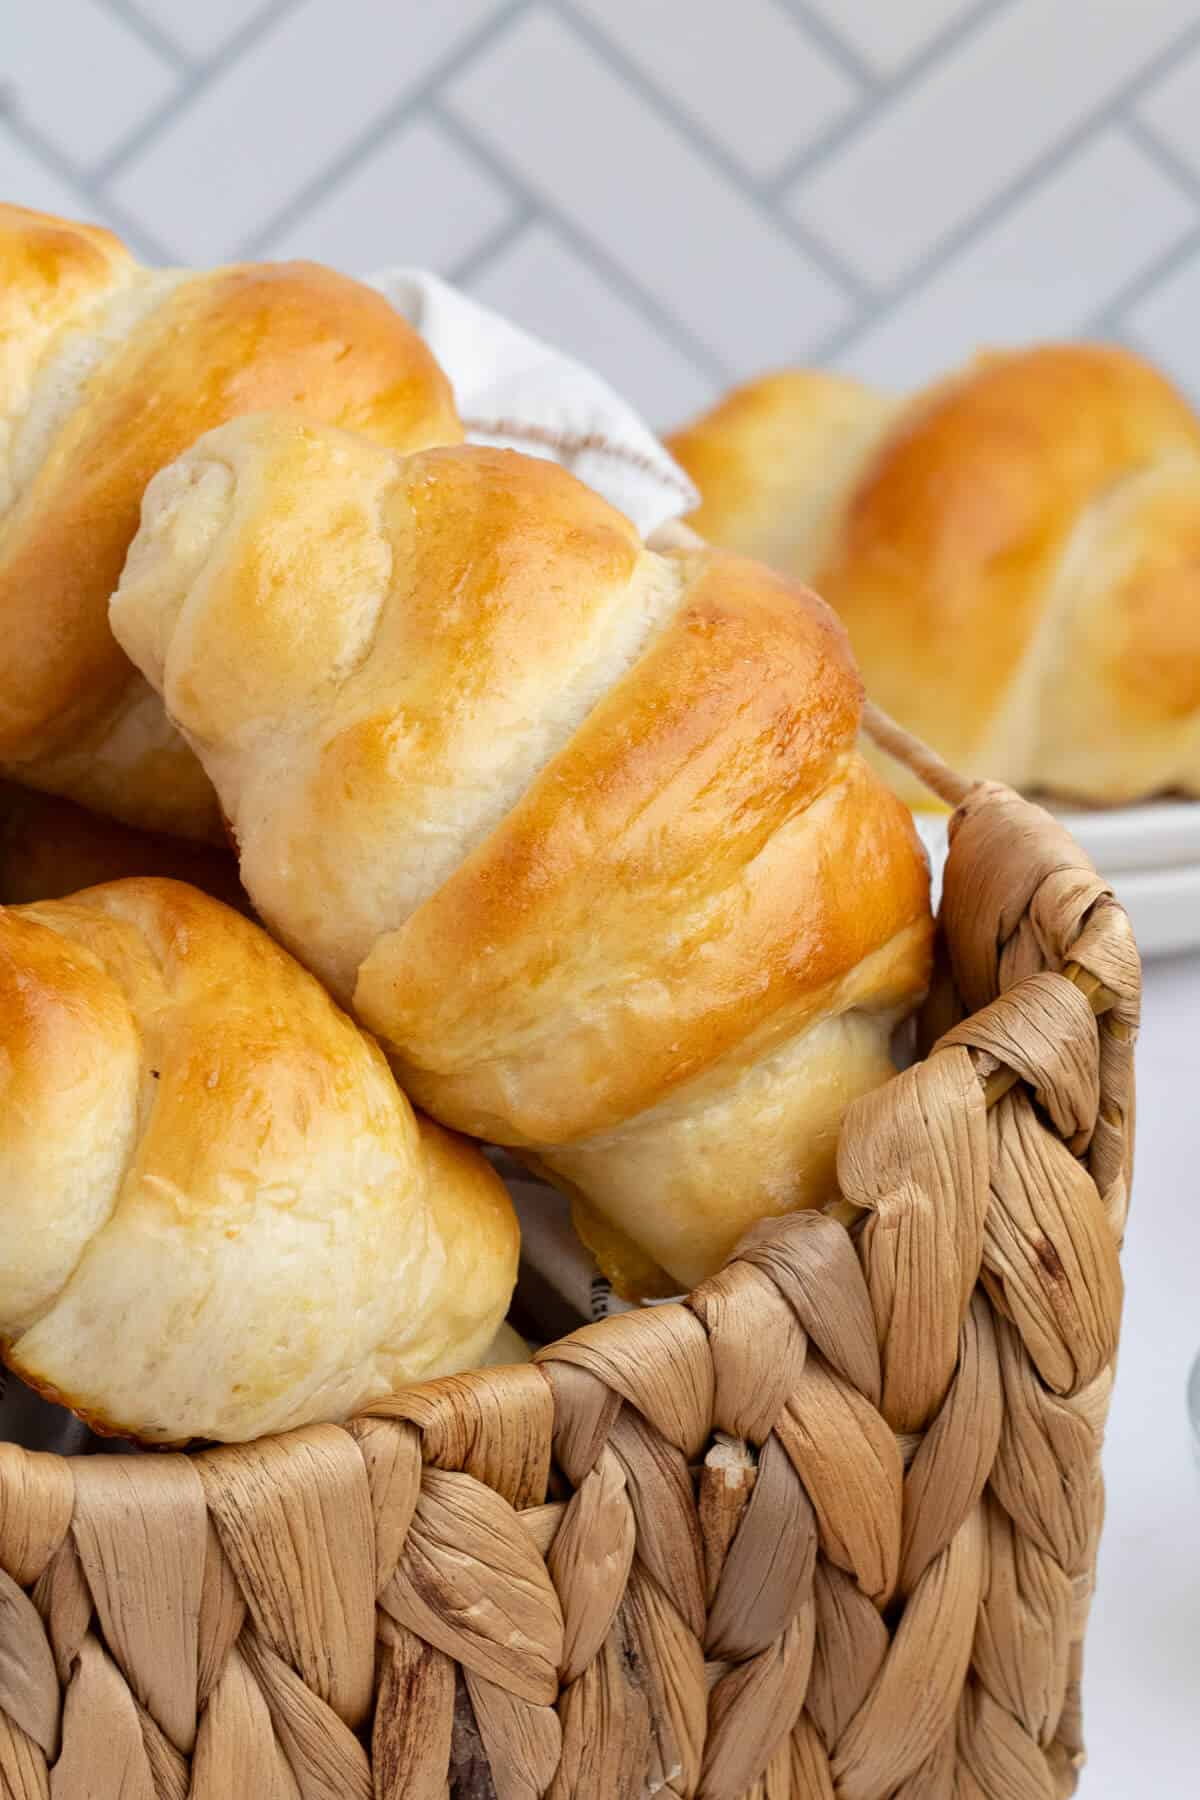
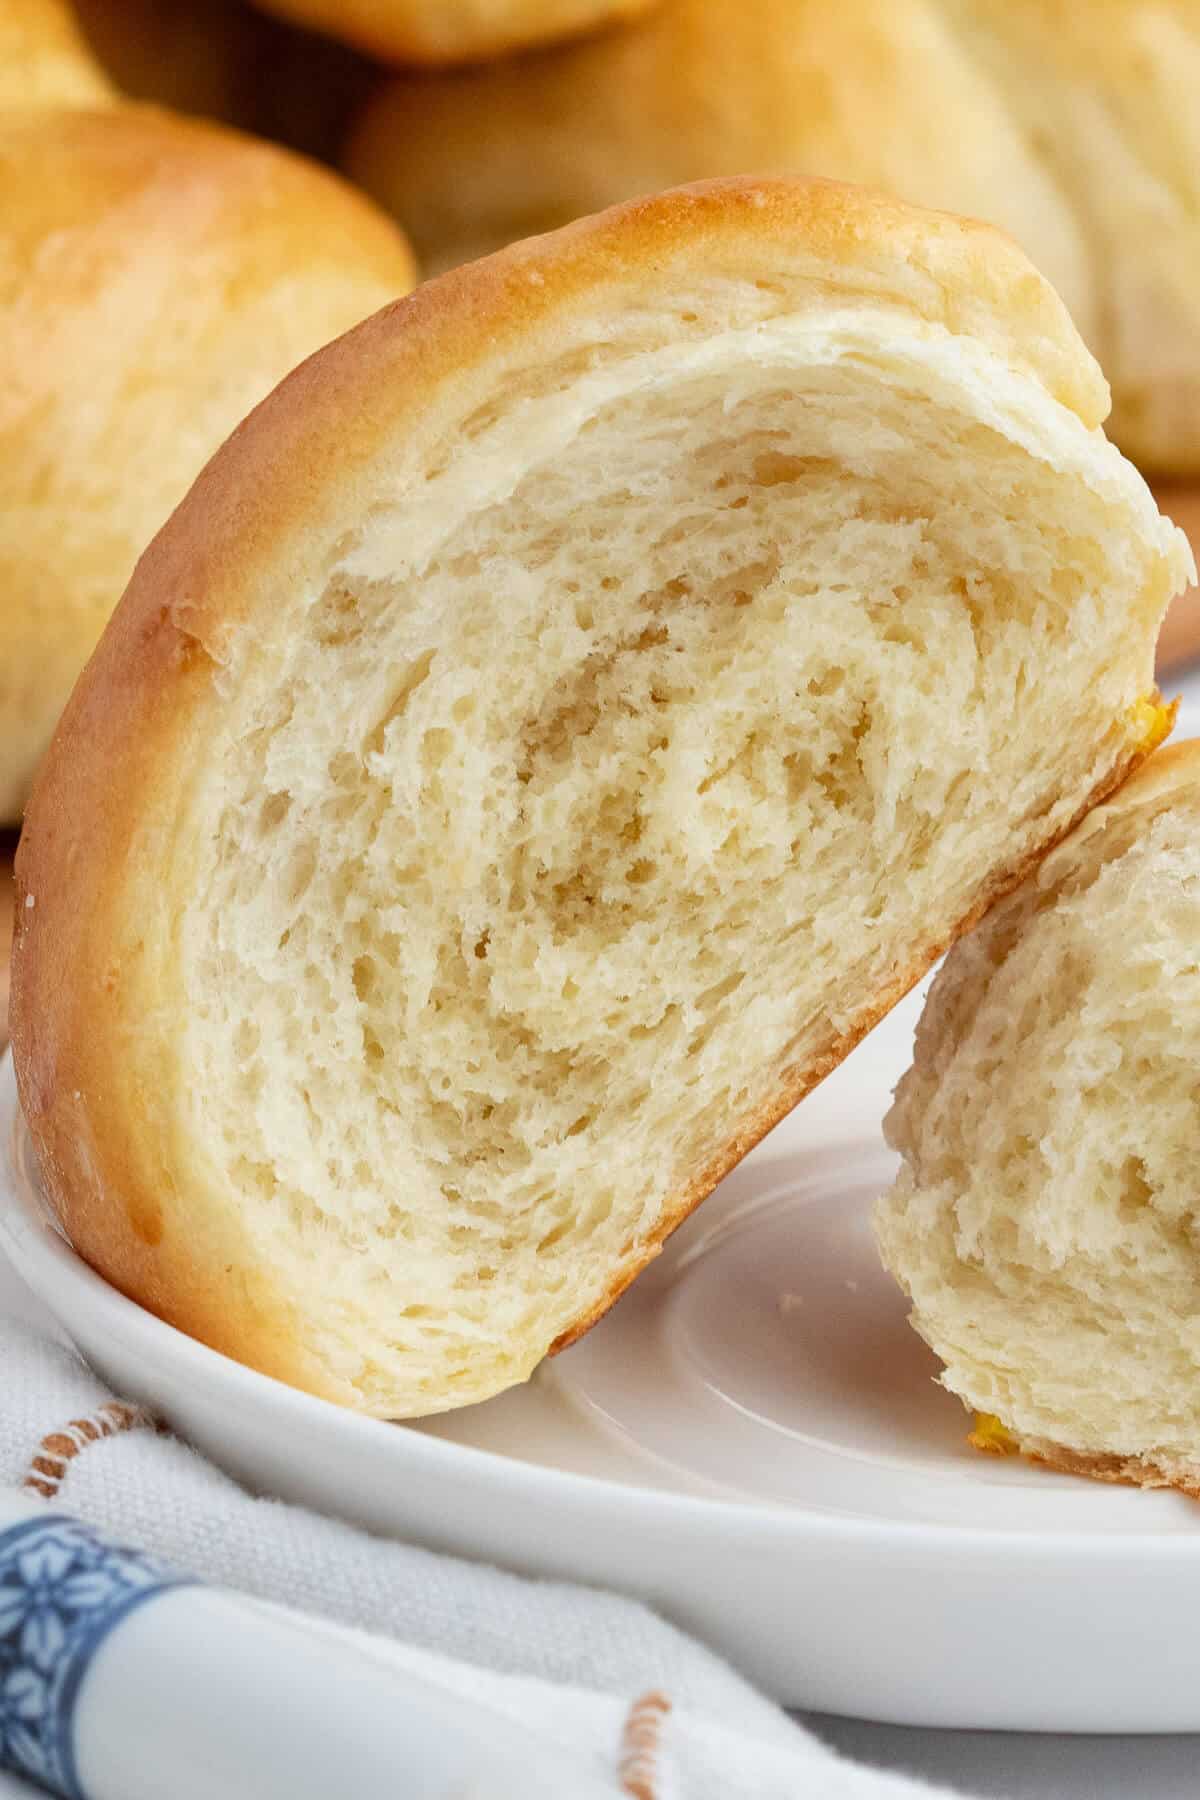
If there’s one thing my family can’t resist, it’s fresh bread. These crescent rolls barely make it to the table before they start disappearing. And don’t even ask about leftovers! I’ve doubled the batch more times than I can count, and somehow there’s never one left behind.
One year, I slipped little notes of gratitude inside the rolls before baking, like buttery fortune cookies for the soul. It was such a simple gesture, but my kids still talk about it. We laughed, we cried, and I think it made the bread taste even better. That’s what I love most about recipes like this — they don’t just feed your people, they create moments.
Learning how to make crescent rolls at home might sound intimidating, but this from-scratch recipe is simple, approachable, and perfect for holidays, Sunday dinners, or any time you want to add something warm and comforting to the table. Plus, they freeze and reheat beautifully.
These are a favorite at our holiday table, see my Thanksgiving Recipes for more holiday ideas.
Why this recipe works:
Ingredient Notes For Homemade Crescent Rolls
A few details about the ingredients I chose for this recipe that will help you succeed.
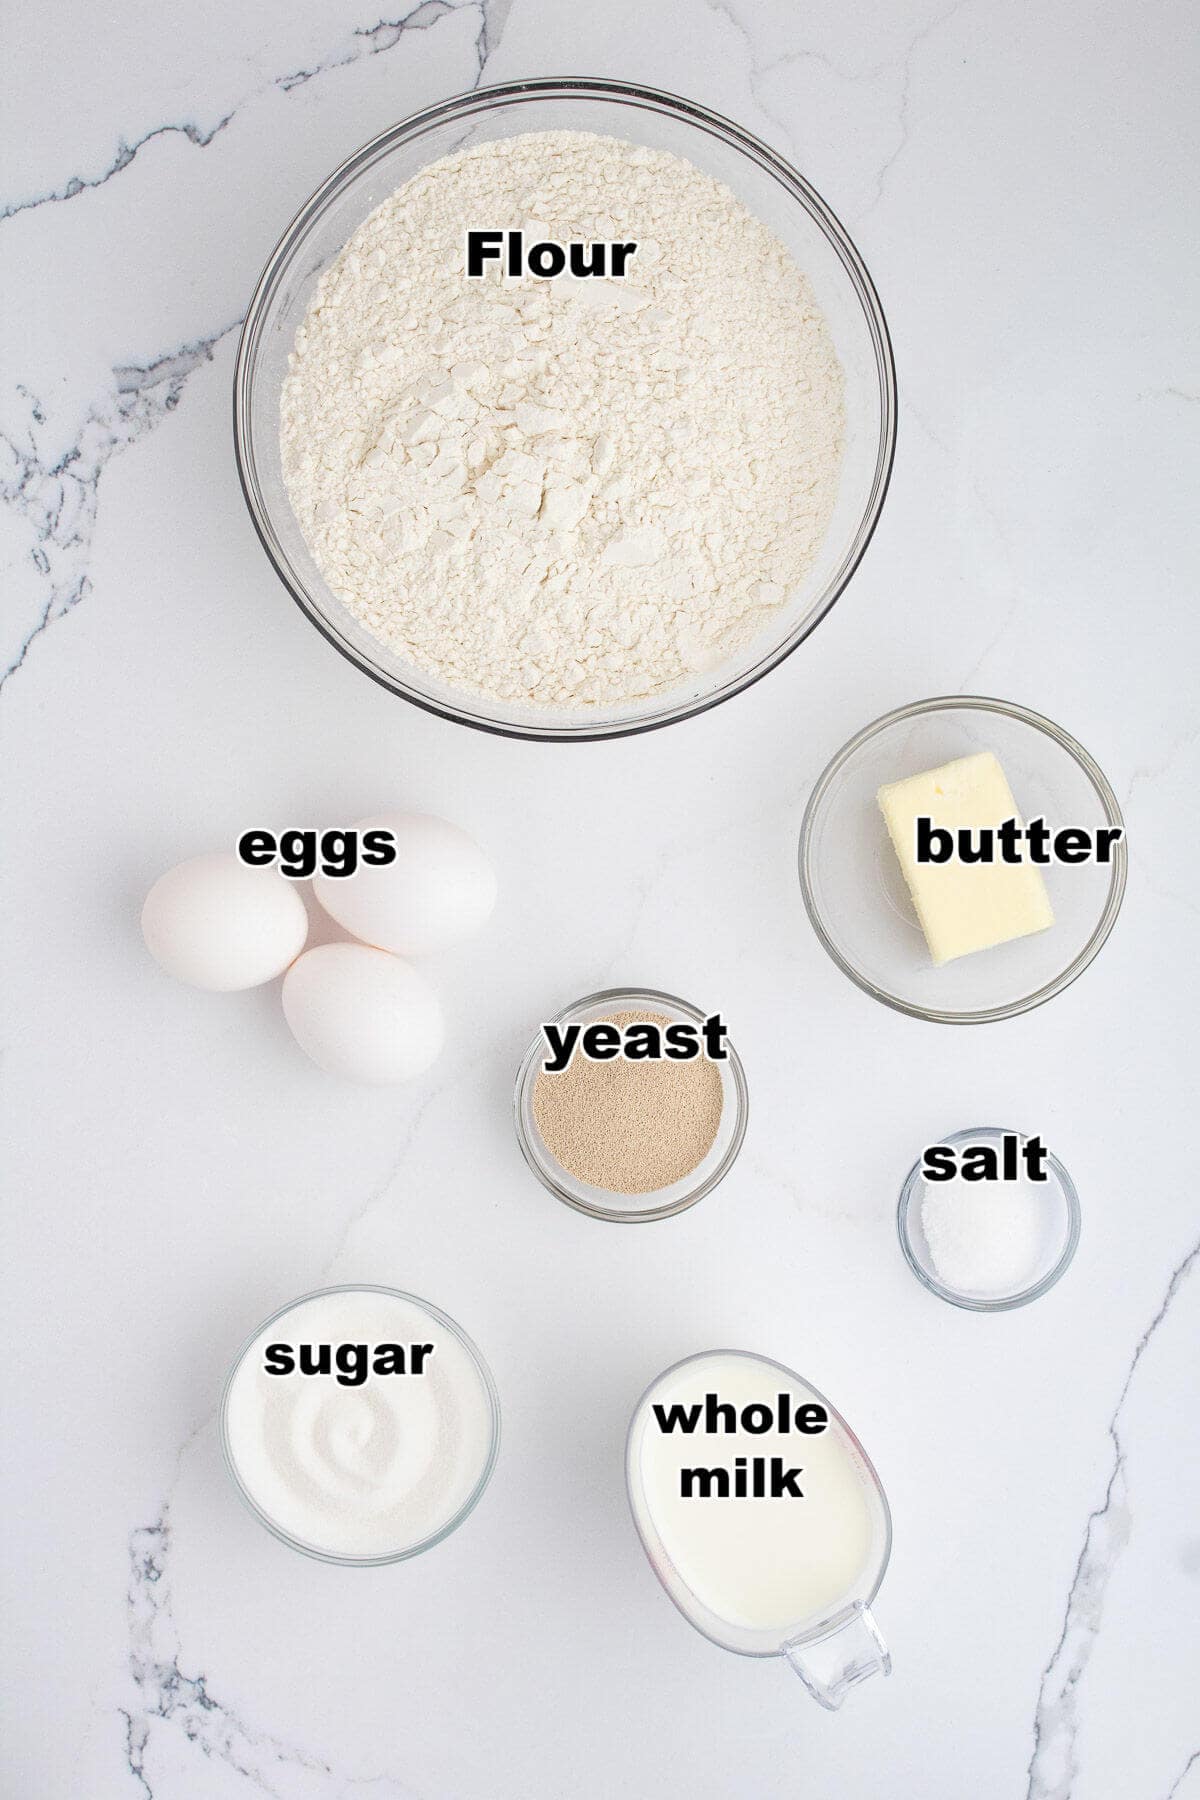
- Whole Milk– offers the richest result, I highly recommend. You can use 2% if you’d like, it will still turn out, but the whole is better.
- Sugar- To keep things simple, I just used regular white granulated sugar.
- Unsalted Butter- If you only have salted butter, reduce the salt in the recipe to 1 1/2 teaspoons instead of 2 teaspoons.
- Salt- It helps strengthen the gluten structure, which improves the roll’s texture. It also enhances flavor and balances the sweetness in the dough.
- Yeast- use instant yeast (also called “rapid rise” or “bread machine yeast”). It doesn’t need to be proofed before mixing, it can be added directly to the dough. It activates faster than active dry yeast, which means shorter rise times.
- Warm water- The ideal temperature is around 105–115°F — warm to the touch, but not hot. I recommend a thermometer, but if you don’t have one, test on your wrist, it should feel like warm bath water. If it’s too hot, it will kill the yeast.
- Eggs- Adds richness, structure, and a soft crumb to the rolls. They also help the dough rise higher because of their protein and fat content. Use room temperature eggs if possible, they incorporate more easily and help the dough rise more evenly.
- All purpose flour- I like the King Arthur Brand, and always use unbleached flour.
How to Make Crescent Rolls From Scratch
Be sure to check out the full recipe and ingredient list in the recipe card below.
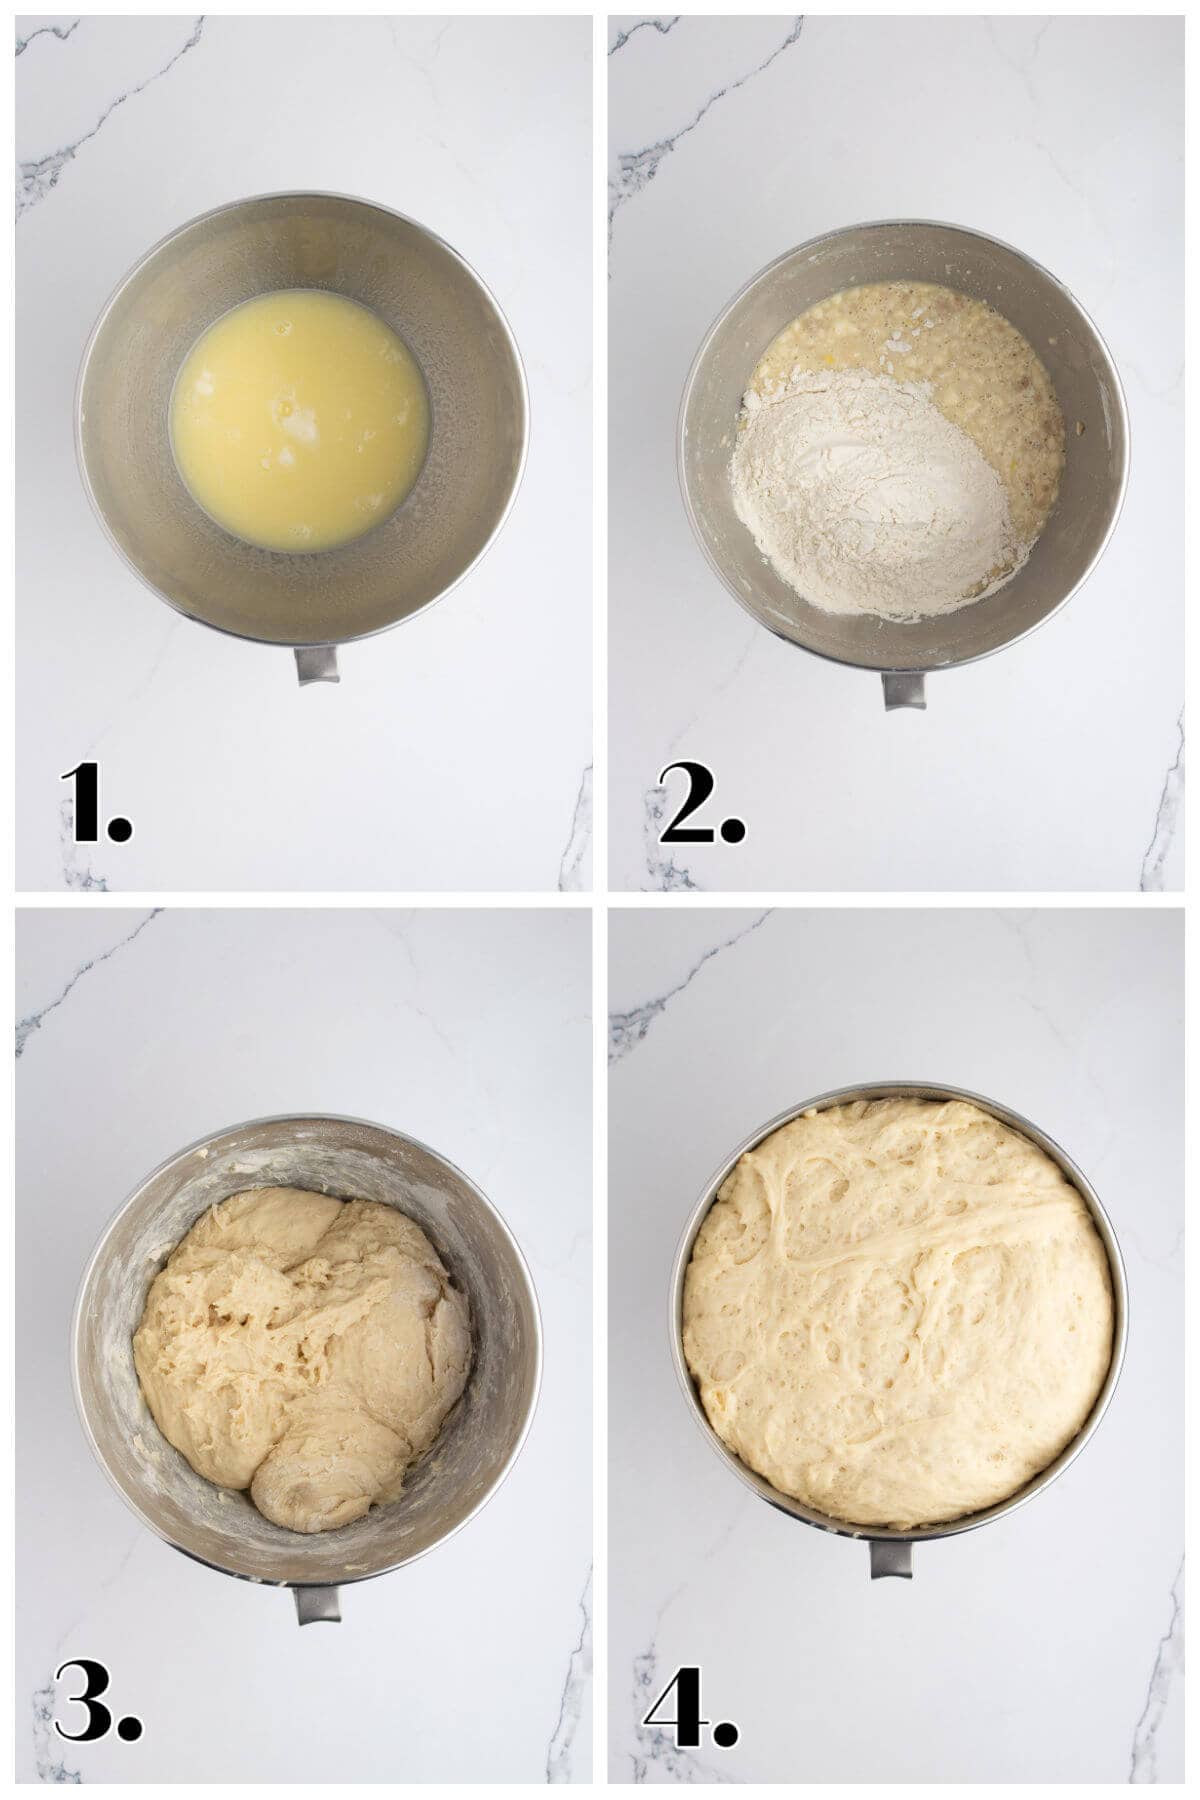
- Heat 1 cup of milk in a small saucepan until hot to the touch, but not boiling. Add the hot milk to a mixing bowl along with the sugar, butter, and salt. Mix until combined.
- Add the yeast, 2 eggs, 1 cup of flour, and the warm water to the mixing bowl. Mix again to combine.
- Add the remaining flour in 1 cup increments until the dough is soft. It should still be slightly sticky but should also pull away from the sides of the mixing bowl while mixing. Form the dough into a ball in the center of the mixing bowl.
- Cover the bowl with a kitchen towel and let rise 45-60 minutes or until the dough has doubled.
- Roll out the dough into a circle until it is about ½ inch thick. (Don’t worry if you’re circle isn’t perfect– neither is mine! 😜).
- Using a large knife or a pizza cutter, cut the dough in half repeatedly until you have 16 triangular wedges.
- Take each wedge and roll it in on itself, starting at the wide end and rolling towards the tip. Place the rolled wedges onto the prepared baking sheets, leaving about 1-2 inches between each roll.
- Cover the baking sheets with a kitchen towel and let rise for 25-30 minutes. Use a pastry brush or basting brush to spread an even layer of the egg wash over each roll.

Bake, cool, and Enjoy!
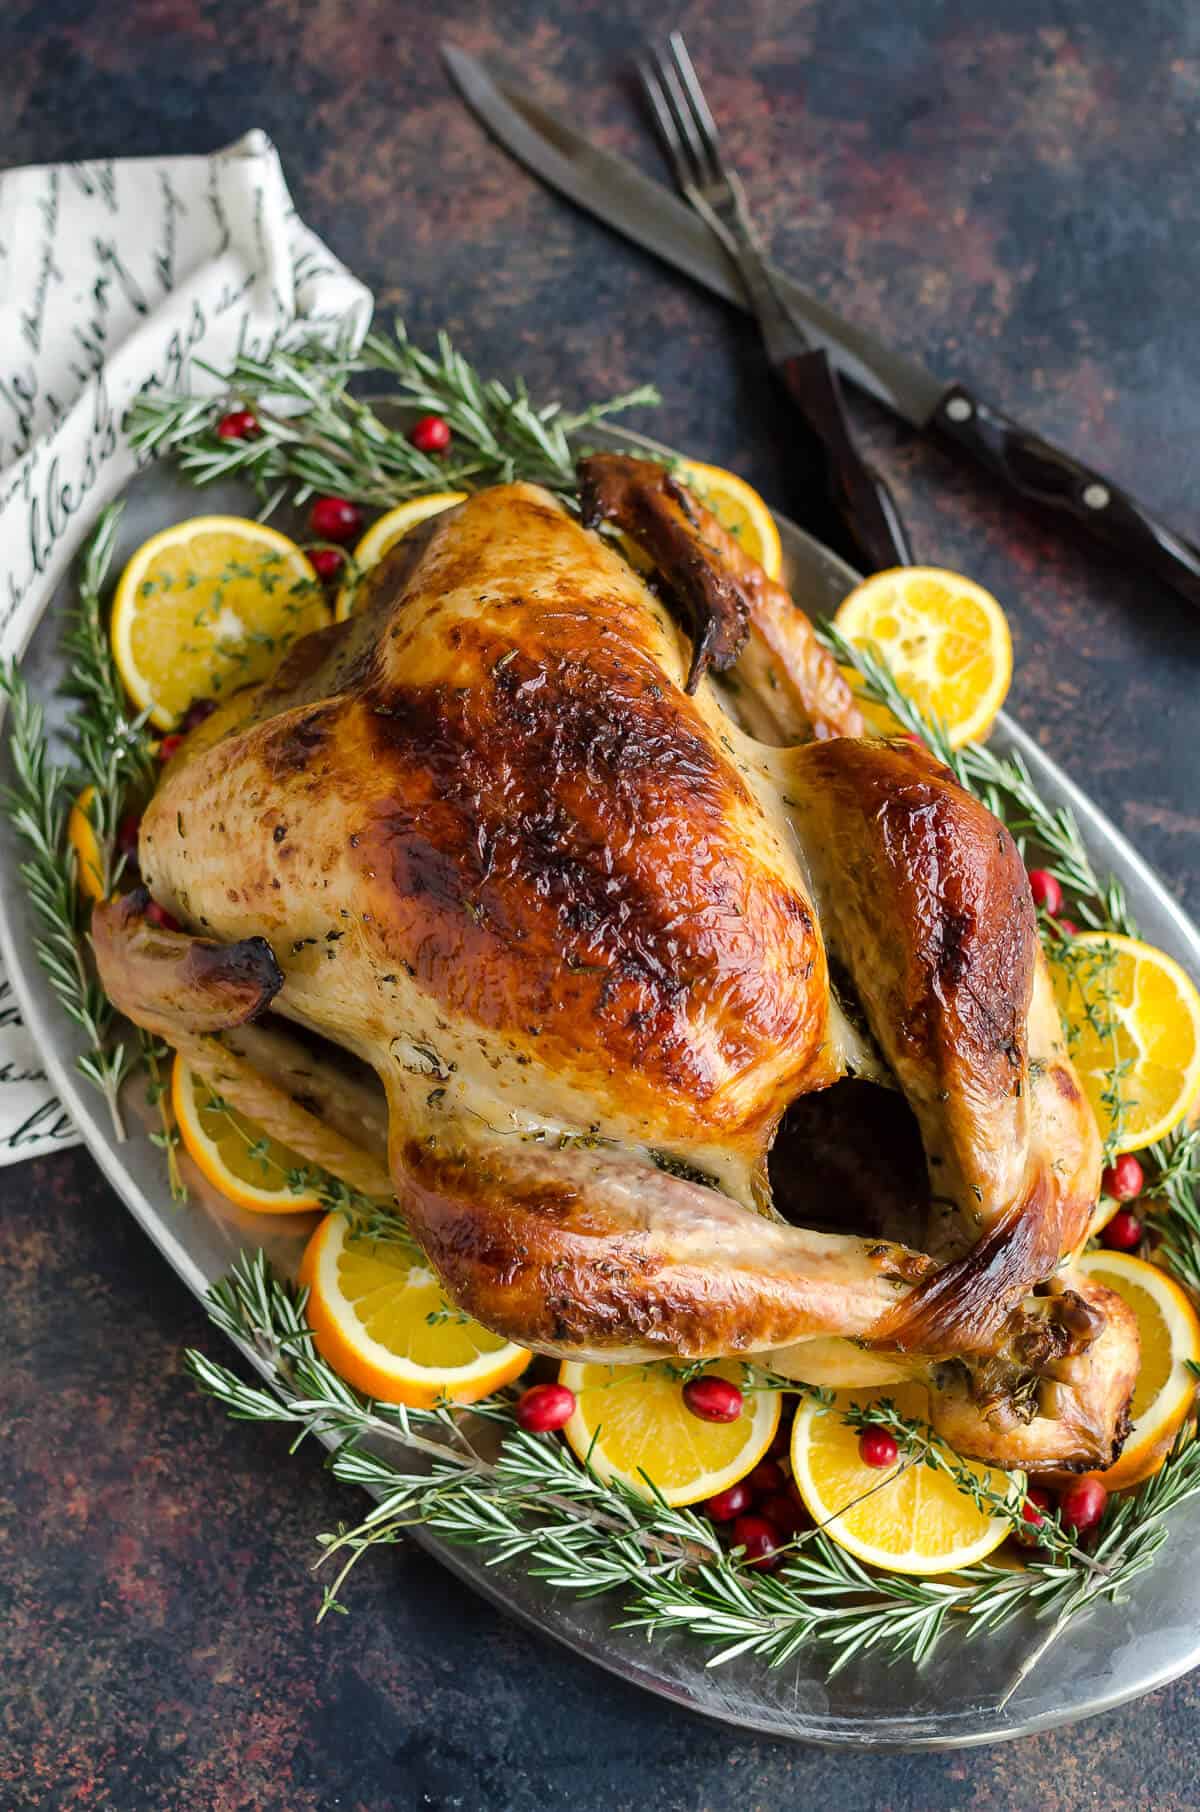
These crescent dinner rolls go with just about everything! You’ll definitely want them with your Roasted Turkey, we also eat them with Braised Beef, Meatloaf, and any of our Soup Recipes (check out the Lemon Orzo or Pasta Fagioli-YUM!)
Tips & Tricks
- I used a stand mixer for this recipe with the paddle attachment. The speed should stay at ‘stir’ or the lowest setting. If you don’t have one, start with a wooden spoon in mixing your dough together and finish with your hands.
- Work quickly between the first and second rises. The dough will continue to rise during this time, and if it rises too much, it can become more difficult to cut and roll up the wedges.
- To ensure that the rolls maintain their shape in the oven, roll the wedges somewhat tightly, but not so tight that you have to excessively stretch the dough.
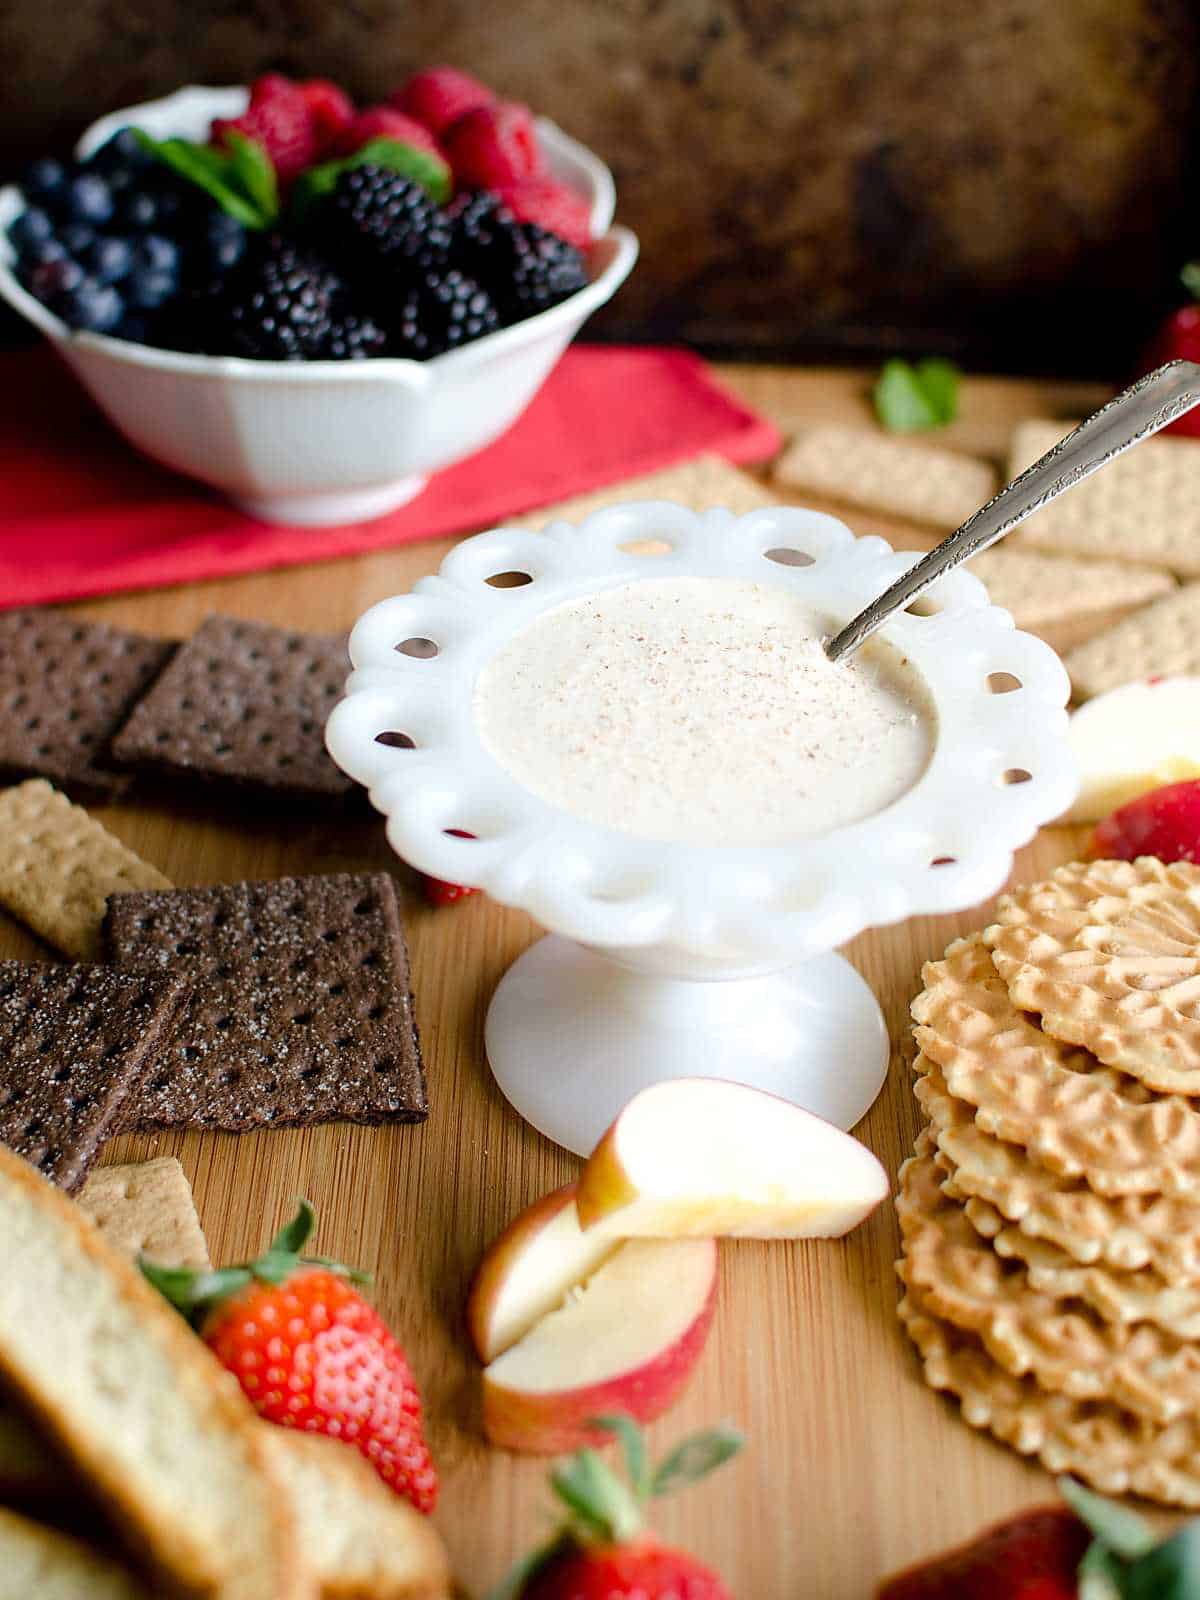
- Feeling indulgent? Make this Texas Roadhouse Butter Recipe to serve with it!
Frequently Asked Questions
Yes! You can make the dough the night before and let it rise slowly in the fridge. After the first rise, shape the rolls, place them on the baking sheet, and refrigerate overnight. Let them come to room temperature and rise again for about 30 minutes before baking. It really can depend on the temperature of your house, but the rolls should be double in size from when you first rolled them.
Yes, just be sure to dissolve it in the warm water (in the recipe) and let it sit for 5–10 minutes until bubbly before adding it to the dough. Keep in mind that rise times may be slightly longer.
Heating the milk until just prior to its boiling point actually creates ‘scalded milk,’ which is an ingredient you may come across in some older recipes. Milk has proteins that can actually inhibit bread from rising, but heating the milk breaks down these proteins and leads to a faster rise. Heating the milk in this recipe is one reason why these rolls are so fluffy and why they rise so quickly.
Crescent rolls are made with a soft, enriched yeast dough, while croissants are laminated with layers of butter, resulting in a flakier texture. Both are shaped similarly, but crescent rolls are quicker and easier to make at home.
Gratitude Rolls: A Fun Twist For The Holidays
Try tucking a small slip of paper with a word or phrase of gratitude inside each roll before baking. Almost like a fortune cookie, but made of bread. I typed on paper and cut the words into thin strips. I included things like “Family”, “Sunrises”, “work”. You could ask people ahead of time what they are thankful for, and then include it and make it a game by guessing who’s gratitude it is.
It’s a fun, meaningful way to invite conversation and connection to your table.
Flavor Variations for Homemade Crescent Rolls
One of the things I love about this recipe is all the ways you can customize it. Here’s some ideas to get you started.
- Garlic Herb Butter Rolls– Brush the shaped rolls with a mix of melted butter, minced garlic, and fresh herbs like rosemary, thyme, or parsley before the second rise and again right after baking.
- Cheese-Stuffed Rolls– Before rolling up each wedge, place a small cube of cheese (cheddar, mozzarella, or fontina work great) at the wide end. Roll as usual and bake.
- Honey Butter Glaze– Skip the egg wash and instead, brush the hot rolls out of the oven with melted butter mixed with honey (about 1 Tbsp honey to 3 Tbsp butter).
- Whole Wheat Blend– For a slightly heartier texture, use half all-purpose and half white whole wheat flour. Add an extra tablespoon of water if needed, since whole wheat absorbs more liquid.
- Savory Kick: Cracked Pepper + Parmesan– Before baking, sprinkle the egg-washed rolls with fresh cracked black pepper and grated Parmesan cheese.
- Cinnamon Sugar Swirl (Sweet Version)– Lightly brush softened or melted butter over the triangle, then sprinkle cinnamon sugar over it before rolling them up. Brush with melted butter after baking and sprinkle with more cinnamon sugar or powdered sugar if desired. Turn your dinner rolls into brunch or dessert!
Storing and Freezing
Store the rolls in an airtight, container at room-temperature for up to 5 days. To freeze the rolls, let them cool completely, then store in an airtight container or freezer bag. Freeze up to 3 months.
To reheat, wrap in foil and warm in a 300°F oven for about 10 minutes.
Please share
Your shares are how this site grows, and I appreciate each one. Do you know someone who would enjoy this recipe?
I’d love it if you shared it on your favorite Pinterest board or Facebook! AND…if you like this recipe, please do me a favor and give it a ⭐️ ⭐️ ⭐️ ⭐️ ⭐️ rating! TIA 🥰
You can also follow along on YouTube and Instagram!
More of our favorite
Side Dish Recipes

Love This Recipe? Bookmark it for later!
Tap the heart symbol in the lower right hand corner of your screen, and the recipe will be saved in your own personal recipe box.

Crescent Rolls
Equipment
- sauce pan
- stand mixer (can be made without one too, see notes)
- large bowl (stand mixer bowl if using a stand mixer, otherwise large glass bowl)
- Wooden spoon (if not using a stand mixer)
- measuring cups and spoons
- Rolling Pin
- kitchen towel or shower caps for covering dough I use disposable shower caps, they work like a charm. You will need a towel to cover the shaped rolls during their rise.
- pizza cutter or large knife to cut the dough
- baking sheet
- parchment paper
- pastry brush
Ingredients
Dough:
- 1 cup whole milk
- ⅓ cup sugar
- 6 tablespoons unsalted butter room temperature
- 2 teaspoons salt
- 2 tablespoons instant yeast
- 1 cup warm water
- 2 eggs room temperature
- 5-6 cups all-purpose flour
Egg wash:
- 1 egg
- 1 tablespoon whole milk
Instructions
- Heat 1 cup of milk in a small saucepan until hot to the touch, but not boiling. Add the milk to a mixing bowl along with the sugar, butter, and salt. Mix with a spoon until combined, or until most of the butter has melted.1 cup whole milk, ⅓ cup sugar, 6 tablespoons unsalted butter, 2 teaspoons salt
- Add the yeast, 2 eggs, 1 cup of flour, and the warm water to the mixing bowl. Mix again to combine. Add flour in 1 cup increments until the dough is soft. It should still be slightly sticky but should also pull away from the sides of the mixing bowl while mixing. (This took me about 5 ½ cups of flour in total.)2 tablespoons instant yeast, 2 eggs, 5-6 cups all-purpose flour, 1 cup warm water
- Form the dough into a ball in the center of the mixing bowl. Cover the bowl with a kitchen towel and let rise 45-60 minutes or until the dough has doubled.
- During the rise, line 2-3 baking sheets with parchment paper.
- After the rise, place the dough on a floured surface and sprinkle an additional thin layer of flour on top of the dough. Using a rolling pin, roll out the dough into a circle until it is about ½ inch thick.
- Using a large knife or a pizza cutter, cut the dough in half repeatedly until you have 16 triangular wedges. Take each wedge and roll it in on itself, starting at the wide edge and rolling towards the tip. Place the rolled wedges onto the prepared baking sheets, leaving about 1-2 inches between each roll.
- Cover the baking sheets with a kitchen towel and let rise for 25-30 minutes.
- During this second rise, preheat the oven to 375 degrees and prepare the egg wash by whisking together an egg and 1 tablespoon of whole milk.1 egg, 1 tablespoon whole milk
- After the rise, use a pastry brush or basting brush to spread an even layer of the egg wash over each roll.
- Bake the rolls for 12-15 minutes or until golden brown. Let cool for 10 minutes before transferring to a baking sheet. Serve warm.
Notes
- I used a stand mixer with the paddle attachment. Use the lowest setting on your stand mixer to mix the dough, If you aren’t using a stand mixer, start by mixing the dough with a wooden spoon, and finish with your hands.
- Instead of a kitchen towel to cover the dough during rising, I use disposable shower caps. They cling to the bowl and work perfectly. You will need a towel or a few though to cover the shaped rolls during their rise.
- You’ll want to work quickly between the first and second rises. The dough will continue to rise during this time, and if it rises too much, it can become more difficult to cut and roll up the wedges.
- To ensure that the rolls maintain their shape in the oven, roll the wedges somewhat tightly, but not so tight that you have to excessively stretch the dough.
- While these rolls taste great on their own, they also pair very well with butter or jam.
- See the post for flavor variations.
Nutrition
Trouble Shooting Tips
Bread baking can feel a little intimidating, but don’t worry — these rolls are pretty forgiving. If something feels off, here are a few quick fixes to help troubleshoot.
My dough didn’t rise.
- Check your yeast. Make sure your yeast is fresh and not expired. If using active dry yeast, it must be proofed first.
- Water temperature matters. Water that’s too hot (over 120°F) can kill yeast; too cold won’t activate it properly. Aim for warm, bath-like water (about 105–115°F).
- Give it more time. If your kitchen is cold, your dough may just need longer to rise. Try setting the bowl near a warm oven or use the “proof” setting if you have one.
My dough is too sticky to work with.
- That’s normal early on! The dough should be slightly sticky but not wet. Add flour a tablespoon at a time while kneading until it’s manageable. Avoid adding too much — over-floured dough leads to dense rolls.
My rolls came out dense, not soft and fluffy.
- Over-flouring and under-rising are common causes. Make sure the dough doubles during both rise times.
- Also, check your shaping — if they’re too loosely rolled or under-proofed, they won’t bake evenly.
My rolls unrolled or spread out in the oven.
- Try rolling them a bit tighter next time and be sure the tip is tucked underneath on the baking sheet.
- Also, let them rise the second time after shaping — this helps them hold structure.
My rolls browned too quickly or unevenly.
- Make sure your oven is fully preheated. An oven thermometer can help ensure accuracy.
- Rotate your pans halfway through baking if your oven has hot spots.
My egg wash made the tops too dark.
- Use a light hand with the egg wash. A thin, even coat is all you need. If you’re concerned, bake for a few minutes less and keep a close eye at the end.
HUNGRY FOR MORE? Subscribe to my newsletter to have recipes delivered to your inbox and to stay up to date on the latest!


Thank you so much Jordan!
My family made these last night and they were SO good. Genuinely one of the best roll recipes I’ve had in a long time. Thanks for sharing!